Every February 14th, in the United States as well as places like Canada, Mexico, the United Kingdom, France and Australia, people give tokens of appreciation to friends and loved ones in commemoration of Saint Valentine, even though little is known for sure about this Saint.
Some medieval legends identify Saint Valentine as a Roman priest during the reign of Claudius Gothicus who was imprisoned and decapitated for ministering to Christians who had been jailed. It was said that he would perform Christian marriage rituals or deliver notes between imprisoned Christian lovers. It is also said that he was decapitated, on February 14th, for such ministries. But this is only one of several stories that try to explain the birth of this celebration.
If it is not clear how Saint Valentine’s Day came to be a day for the celebration of love and affection, it is equally unclear how the heart shape became the symbol of romantic love. Some researchers believe that the heart shape originated from an ancient plant called silphium that was used by the Greeks and Romans for several purposes including birth control. Others speculate that the heart shape as we know it today, evolved from designs that modeled the shape of breasts or buttocks. Be it however, the heart symbol we use today, entered pop culture, became an icon for affectionate communication and is here to stay.
So let’s make a heart to celebrate Saint Valentine's Day!
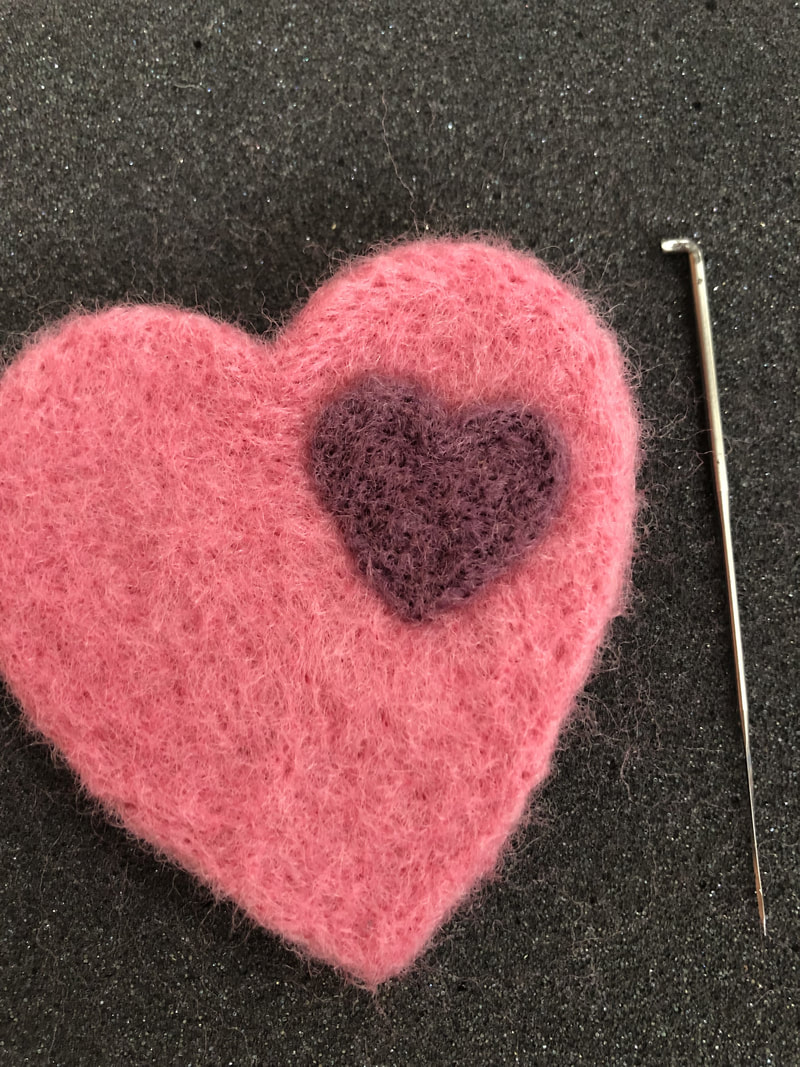
Photo tutorial for a felted heart with a crochet border
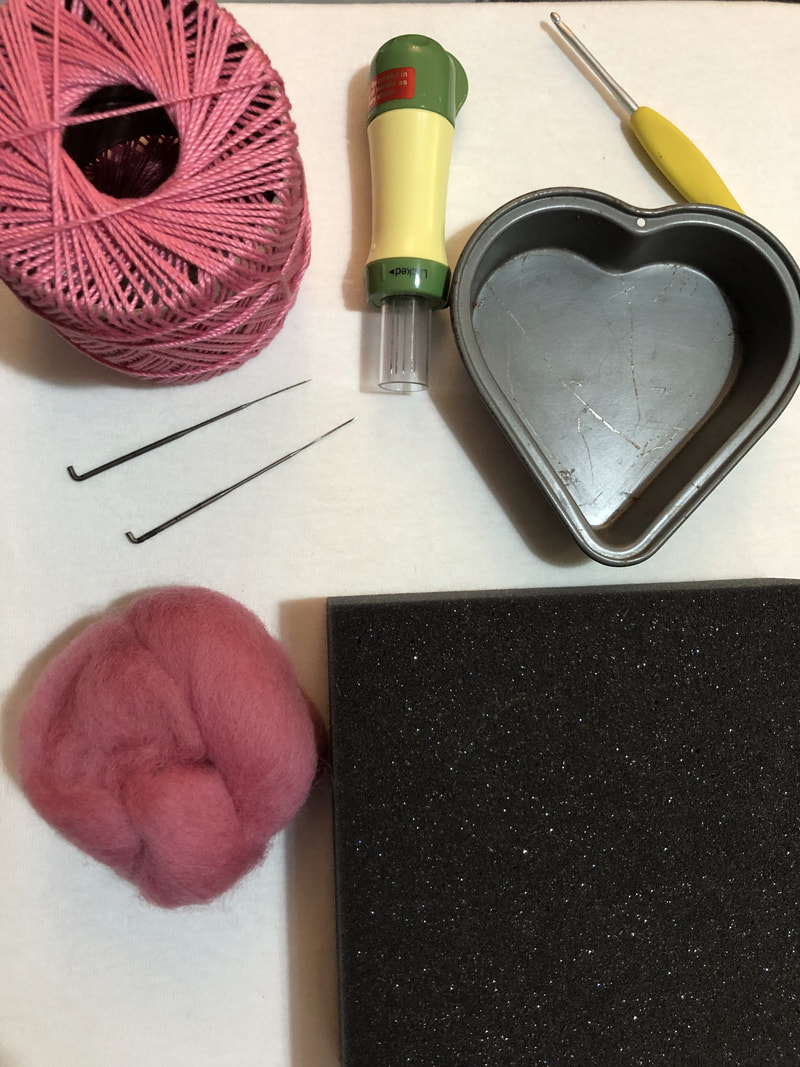
Materials used:
4 grams of wool batting (3.4 g in one color and 0.6 in another contrasting color.)
1 felting needle (size 40 or 42), a multi-needled felting tool is optional.
felting mat
heart shaped cookie cutter (in two sizes, only larger size shown)
Cotton thread for crochet (similar in color to your felt.)
(I used Aunt Lydia's #3 Mercerized Cotton in warm rose.)
2mm metal crochet hook (not shown)
4 mm glass beads
small eyed sewing needle
sewing thread (similar in color to your felt)
digital scale (optional but recommended)
Stitches used (US terms):
sc - single crochet / UK dc
dc - double crochet/ UK treble
tr - treble crochet / UK double treble
large shell - sc, dc, tr, dc, sc
small shell - sc, dc, sc
Method:
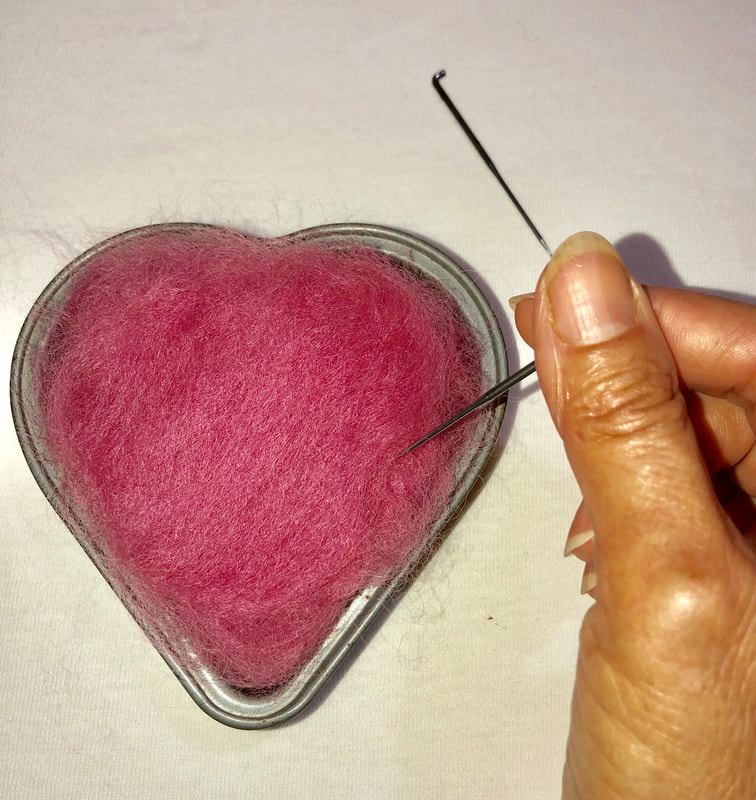
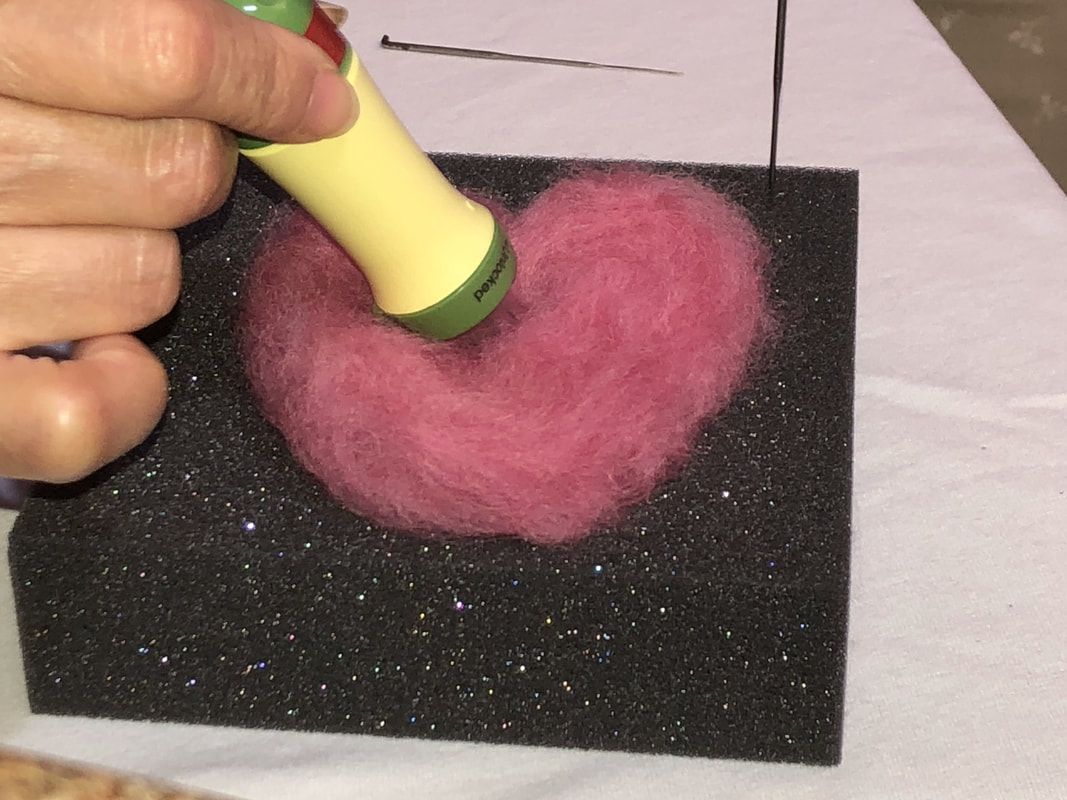
1. Place about 3 g of the wool, in small pieces, in the middle of the larger heart shaped cookie cutter. (Do not cut the wool, simply pull it apart.)
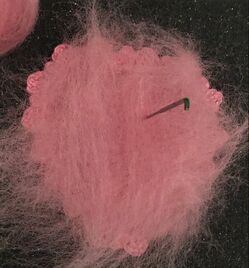
2. Take your felting needle and begin poking the wool lightly, until it sustains the shape of the heart around the edges. In my case, since I was using a small cake pan, I was careful not to stab too deep so as not to hit the bottom of the pan and break my needle.
1. Place about 3 g of the wool, in small pieces, in the middle of the larger heart shaped cookie cutter. (Do not cut the wool, simply pull it apart.)
2. Take your felting needle and begin poking the wool lightly, until it sustains the shape of the heart around the edges. In my case, since I was using a small cake pan, I was careful not to stab too deep so as not to hit the bottom of the pan and break my needle.
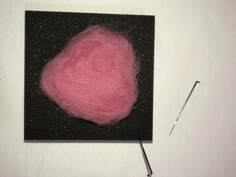
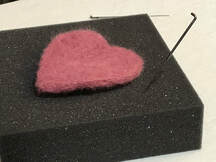
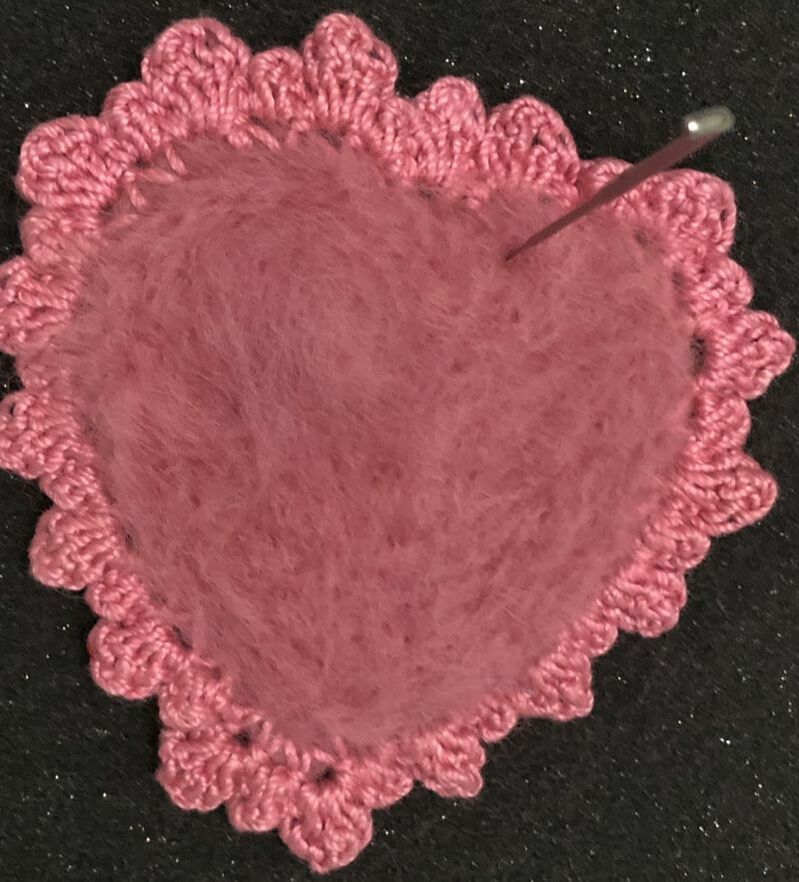
3. Once the wool holds the heart shape, remove it and place it on a felting mat.
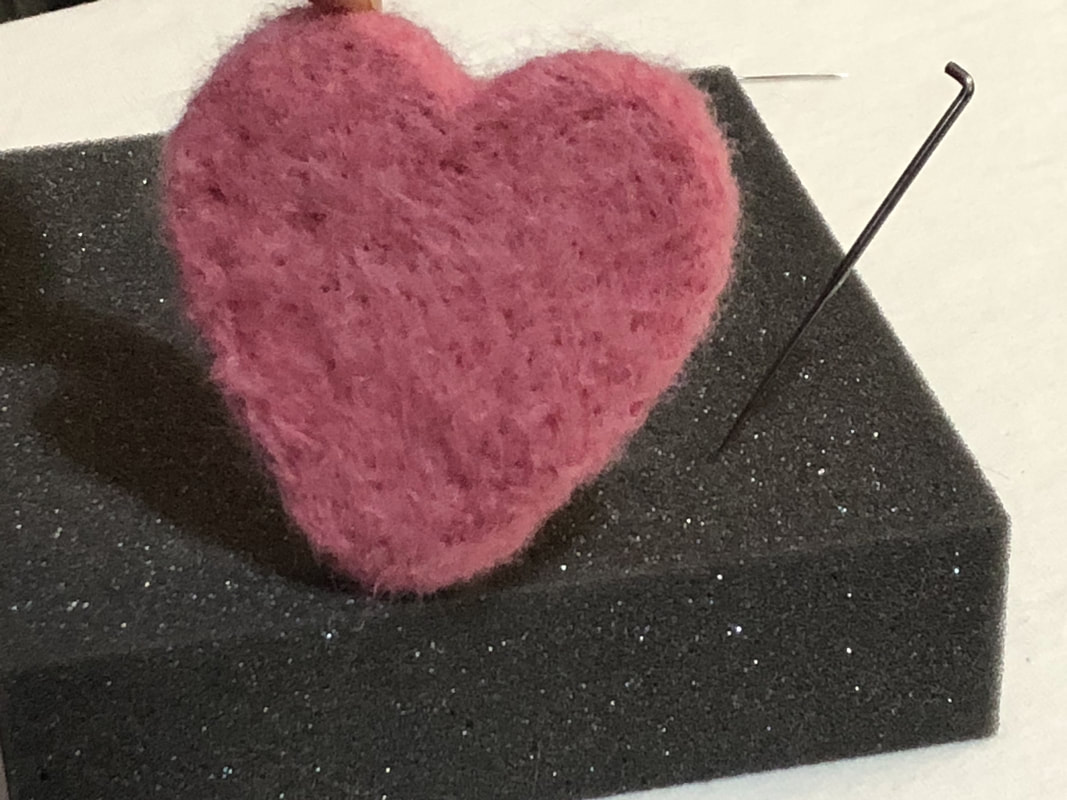
4. Continue poking to create a firm heart shape. You may use a multi-needle tool, for the center of the heart, if you like at this point. But return to the single needle for the edges and final shaping. It will take quite a lot of poking to get the heart to a firm state. As long as you can separate and move the fiber with your needle you need to continue poking. Watch for holes or areas that are too thin and feel free to add more wool to fill the gaps.
4. Continue poking to create a firm heart shape. You may use a multi-needle tool, for the center of the heart, if you like at this point. But return to the single needle for the edges and final shaping. It will take quite a lot of poking to get the heart to a firm state. As long as you can separate and move the fiber with your needle you need to continue poking. Watch for holes or areas that are too thin and feel free to add more wool to fill the gaps.
 |  |
 |  |
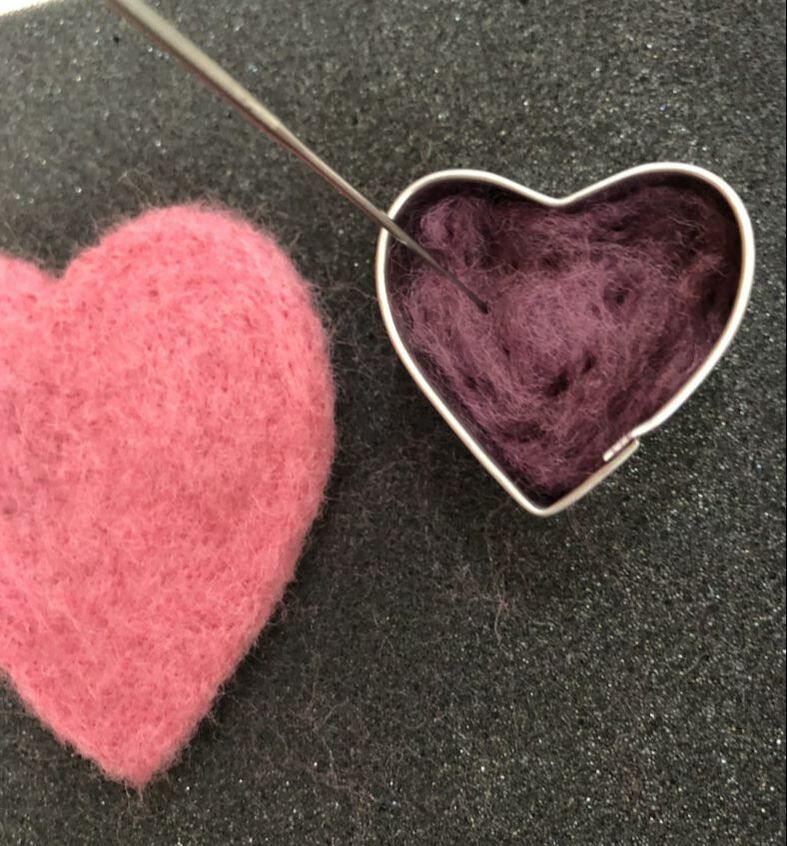
5. For my example, I added a smaller heart within the larger heart. Feel free to create your own design.
6. Take the small cookie cutter and add a small amount of wool (between 0.6 g to 0.75 g) and work the same as for the larger heart.
6. Take the small cookie cutter and add a small amount of wool (between 0.6 g to 0.75 g) and work the same as for the larger heart.
7. Once the heart has a good shape, but before it is too firm, place the small heart on top of the large heart, at the desired position. Poke the small heart until it is firmly attached to the larger heart.
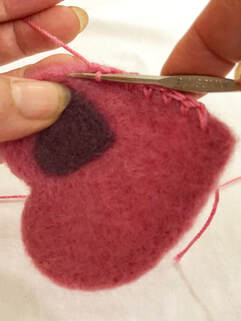
8. Now we will crochet the border. To crochet the border we need to add a base layer of stitches around the heart. For this, I will start at the point at the bottom. Insert the crochet hook through the felt at this point and pull up a loop. Make a slip stitch. Continue to insert the hook at even intervals around the heart, and pulling up yarn to make a sc. If you feel you need more stitches, make a second round with 2 sc in each sc, or alternating 2 sc in a sc and 1 sc in the next sc. In my example, I only did 1 round.
 |  |
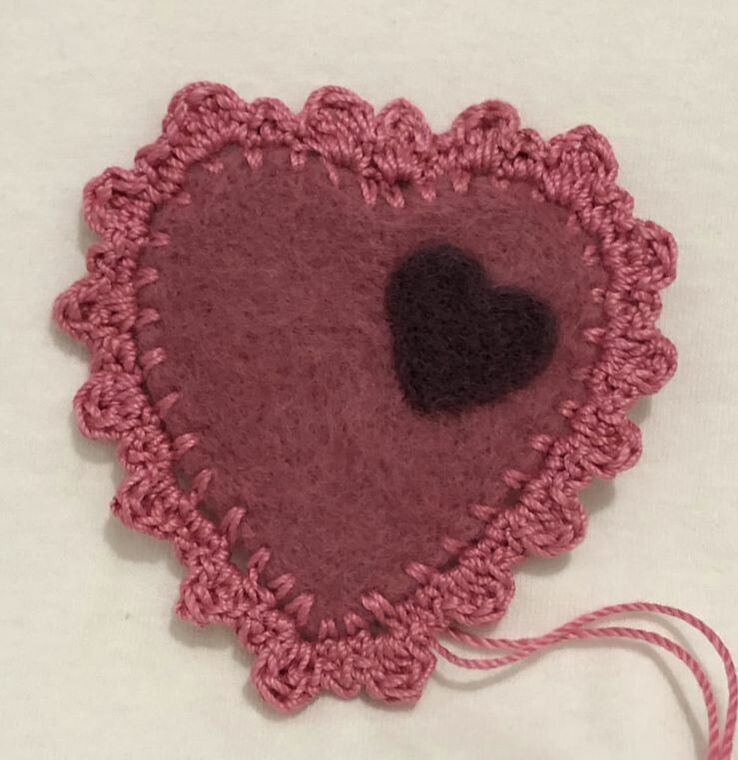
9. To create a patterned edging around the heart, you will be alternating between a pattern of large shells and small shells in each sc, working your way around (the large and small shell stitch patterns are described in the "Stitches" section above. You will make two consecutive large shells, only at the top of the heart. Feel free to create any edging of your choice.
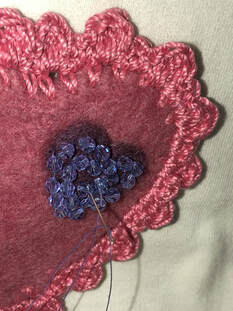
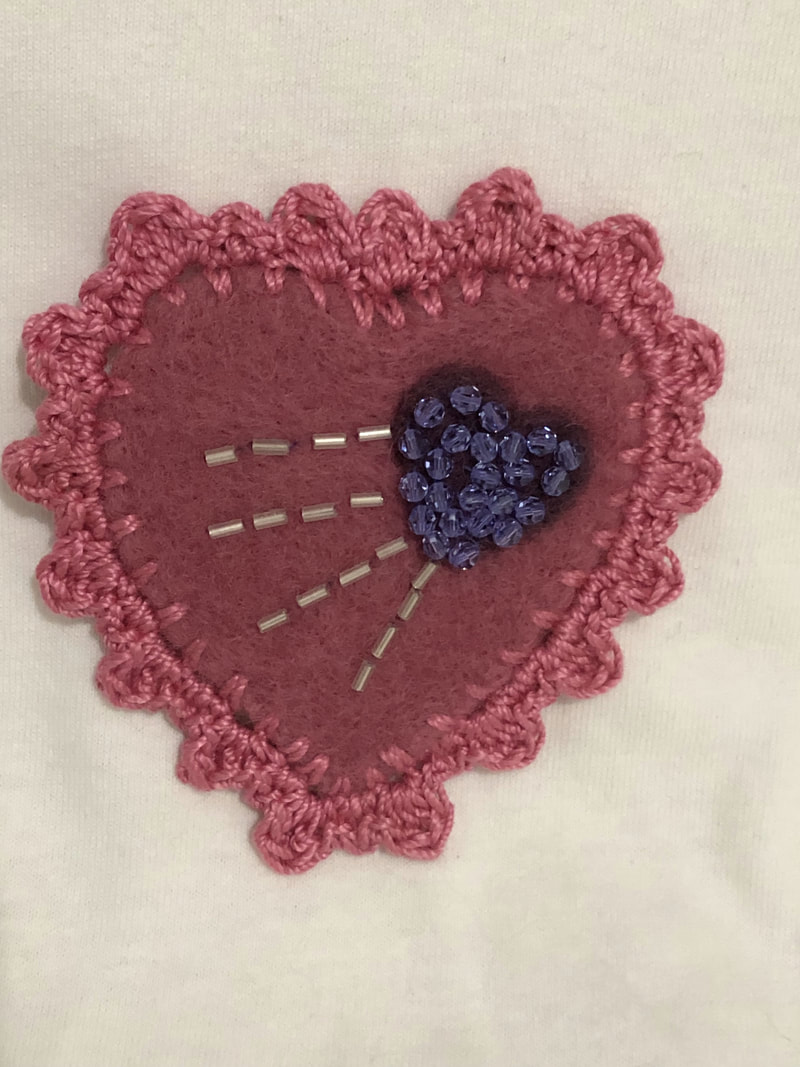
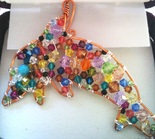
10. Now it's time to add the beads. I chose to fill the small heart with rounded Swarovski bicones. Then, I added streaks of bugle beads leading to the small heart. To add the beads, I chose a needle with an eye small enough to fit through the beads and regular sewing thread. Then, in an in/out motion, I passed my needle up through the felt, through the bead hole and back down into the felt. I continued the process until I had added all the beads. If you feel a bead is too loose, you can pass through the same bead more than once.
 |  |
11. If you are using the heart to create a greeting card, you might not have to worry about the messy back. But, if you would like both sides of your work to be clean, then you will need to add more wool to the back. Start by turning your work over. You will need to pull out another 0.25 g or so of wool and place it over the back side of your heart. Using a single needle, you will poke your wool, lightly, until the new yarn has adhered and you have no loose fiber. Remember to keep the shape of the heart. Don't poke too deep! You don't want the needle to hit a bead too hard and break!
 |  |
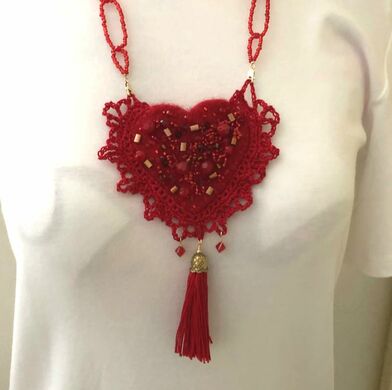
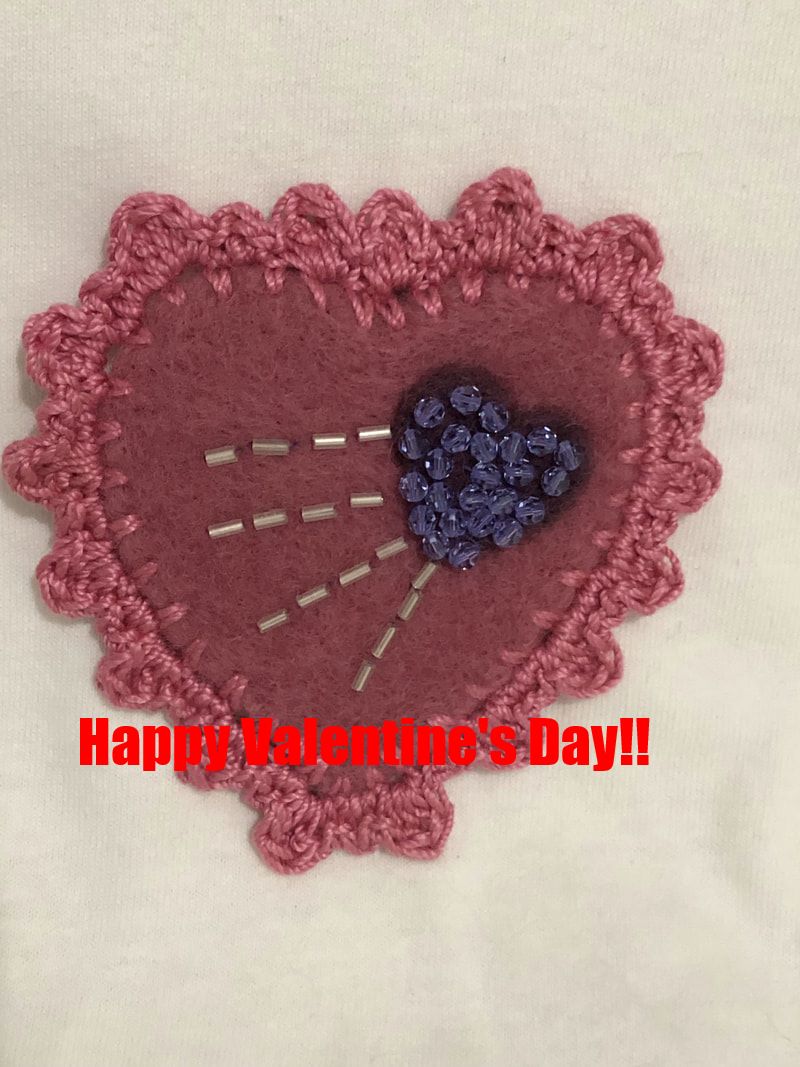
12. And your heart is done! What's left is to decide what you want to use it for. It could be added to a purse or a Tshirt. It could be used to create a greeting card or you could make a collar and use it as a necklace. It could even be made into a key chain! Happy Crafting!!
 RSS Feed
