The only problem with being a multi crafter is deciding which craft to spend time on.
Homespun Magazine
Homespun Magazine
I have mentioned previously on this space that I practice several crafts and that I have, on occasion, used more than one craft to complete a project.
For example, I once created needle felted canvas panels for a seamstress who later turned them into bags for cosmetic cases, notion pouches or crochet/knit project bags.
For example, I once created needle felted canvas panels for a seamstress who later turned them into bags for cosmetic cases, notion pouches or crochet/knit project bags.
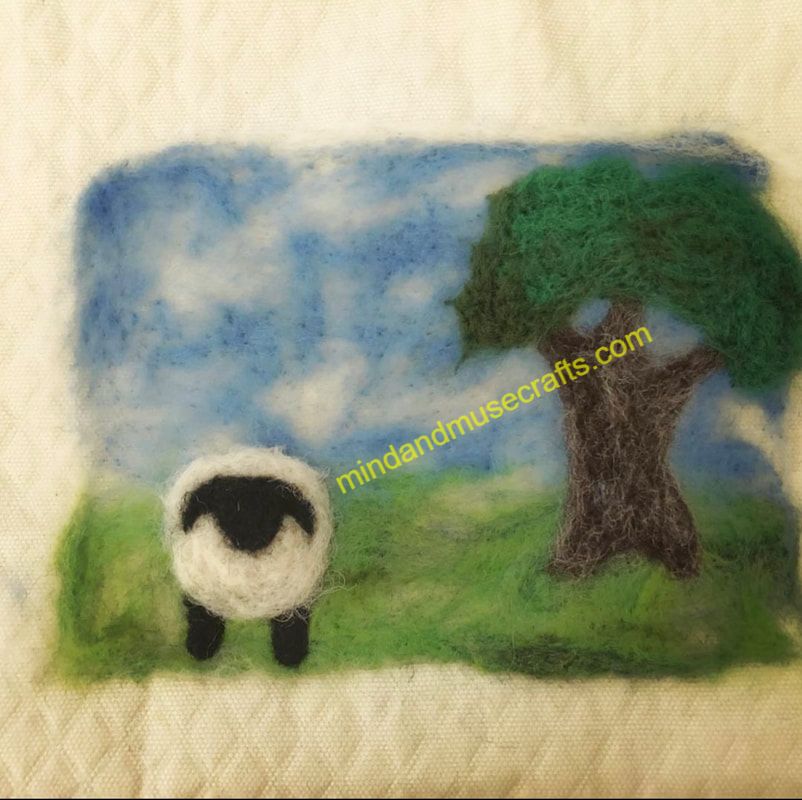
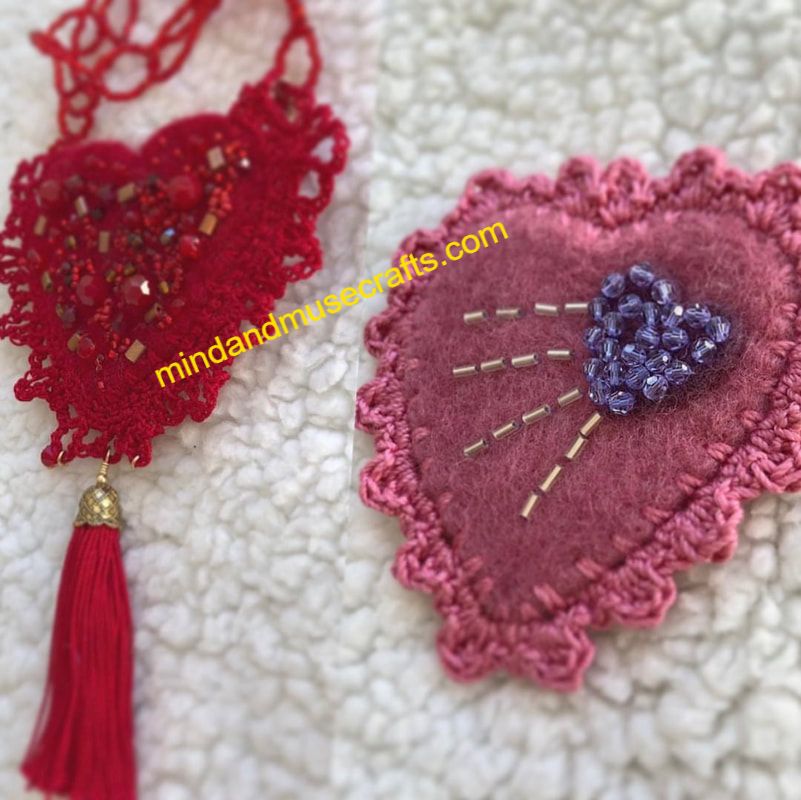
I have also combined needle felting with embroidery to create jewelry.
At times, I have combined crochet with knitting to complete socks or garments.
On this occasion, I would like to share with you my experiences combining crochet with sewing in order to construct a garment.
My idea started out something like this.
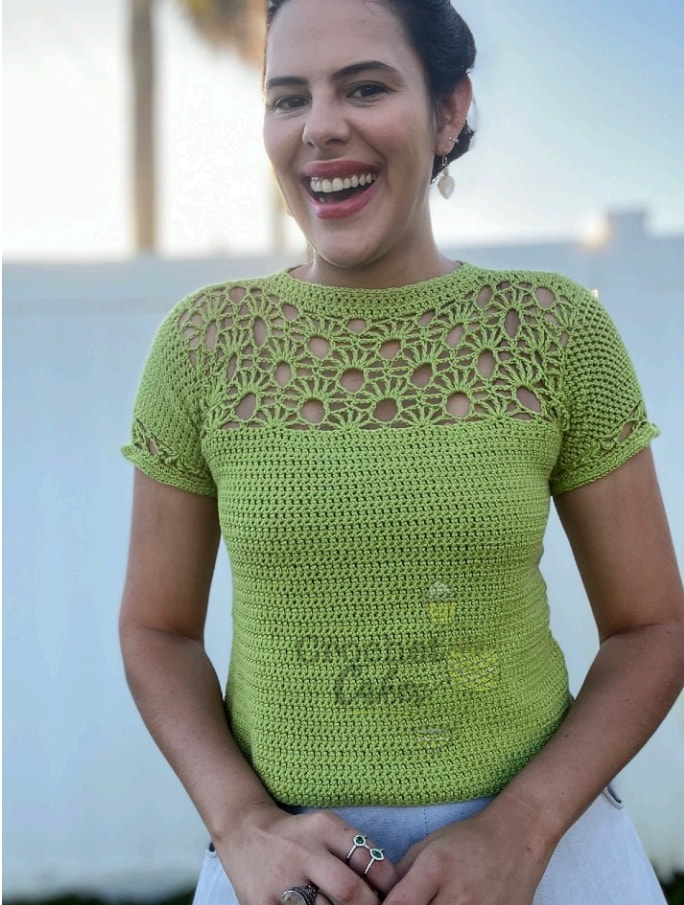
I am a fan of the crochet designs of Clarisabeth who is the owner of the crochetcakes brand. (- crochetcakes) Recently, she published a garment design called Fallalery (Fallalery Crochet Top - crochetcakes). I tech-edited the design for her and, as I was reviewing it, it occurred to me that I would like to try to crochet the yolk and top back panels to a fabric body to make a summer garment that was quick and that wouldn’t be as heavy and warm as a complete crochet garment. And so, my new project began.
I would be traveling for a couple of months at the time, so I had to make do with the yarn I had taken with me, which was three skeins of Lion Brands Nuboo yarn in the Mocha colorway.

Nuboo is made of 100% Lyocell, a fiber produced from bamboo pulp. Nuboo has a sophisticated sheen and beautiful drape as well as a crisp stitch definition. The Craft Yarn Council classifies Nuboo as a #4 weight yarn (worsted?) but it is also said to produce a very breathable fabric. If you have been here for a while, you know that I live in Puerto Rico (a tropical island in the Caribbean). Therefore, making a lightweight, breathable crochet garment was a very attractive proposal for me. Thus, I decided to put my crafty brain to work.
Hindsight is 20/20, so I can look back at this project now and say honestly that I went about it all wrong. In the end, it worked out, but if I were to do this again, I would do it quite differently. The best recommendations (based on my afterthoughts) that I can give you are listed below.
1. Pick you pattern.
There are a few different ways you may go about this. You may first find a pattern for the yolk and back panels of a sweater that you would like to add a fabric body to. For this, you could either choose a crochet top designed with a bottom-up construction or a top-down construction.
For example, this is an image of Fallalery… notice the detailed lace yolk as opposed to the simple body. Fallalery is constructed bottom-up. In my case, I wanted to keep the lacy yolk and top back but add it to a fabric body.
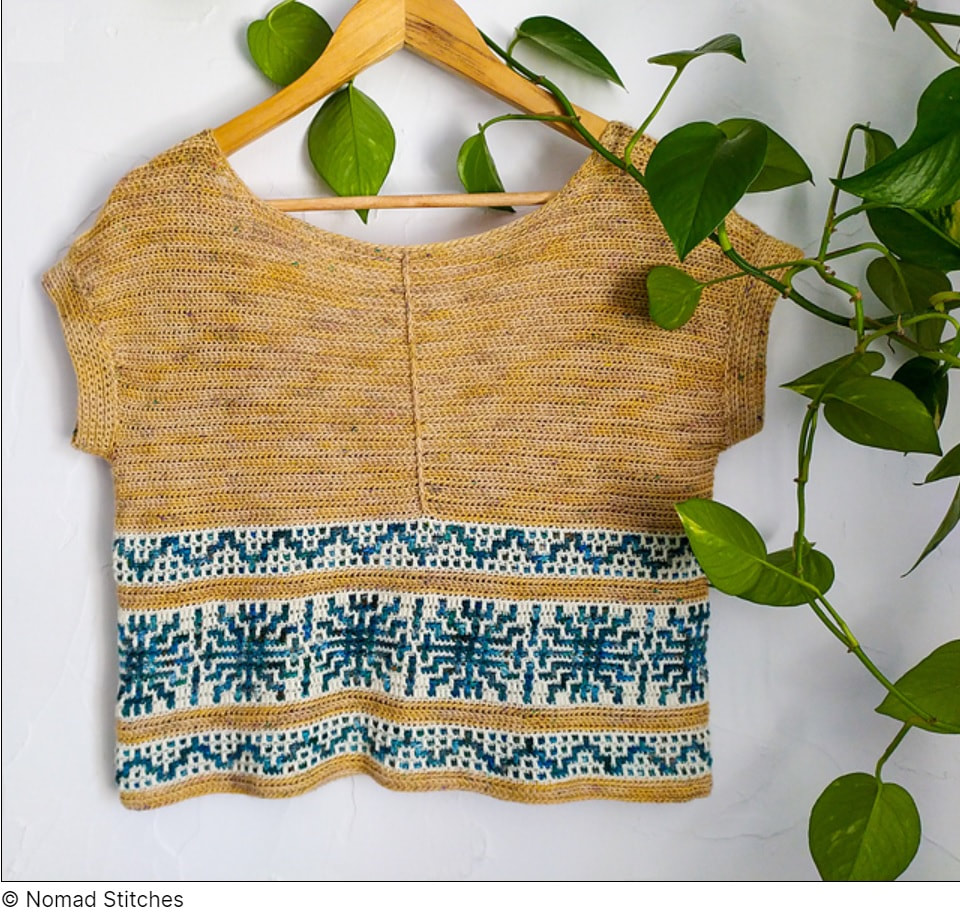
As a second example, you could instead decide to work with something like the Mosaika Gunes top by Nomad Stitches shown below because you want to keep the detailed body but prefer a fabric top. The Mosaika Gunes top is al constructed bottom up. (This will be the second part of this series, coming soon.)
For this first part of my series of posts on this topic, I followed the first option described above.
2. Pick your yarn based on the pattern suggestions.
I obviously did not do this the first time around since I already mentioned that I had wanted to use yarn that I had in my possession at the time. This was a faulty choice, since my yarn was thicker than the yarn recommended by the designer, which obviously caused gauge issues and did affect the overall look and fit of the finished garment. But…. We live and learn. In this case, I lived it… but you can learn from my mistakes.
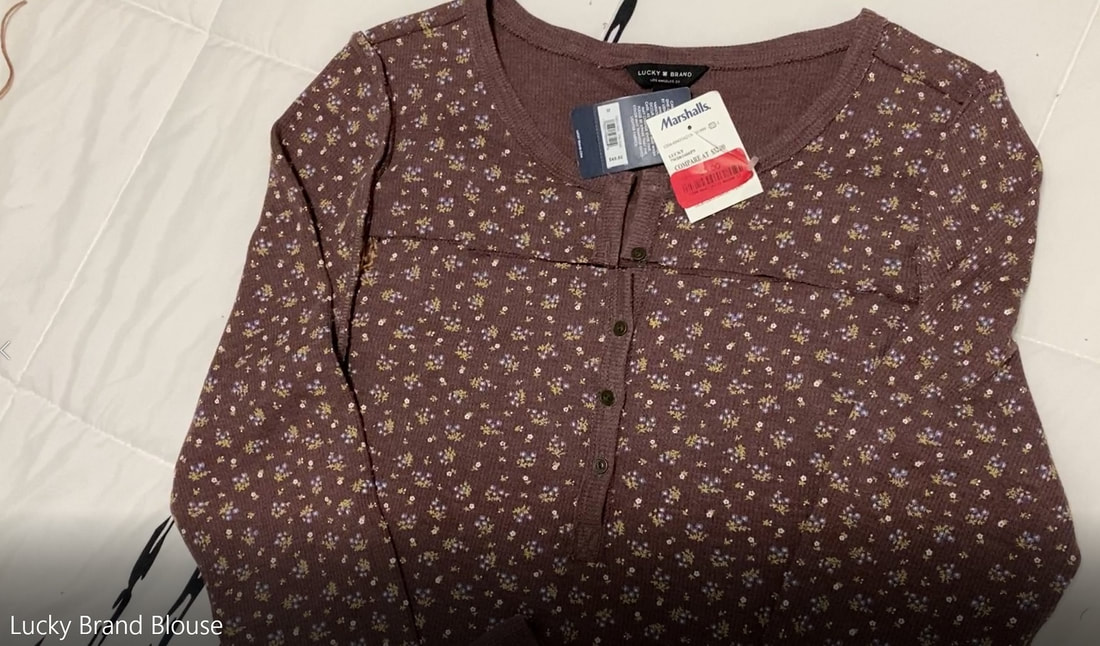
3. Choose your fabric.
I decided to use a top that I purchased for a couple of dollars and cut it as needed, but you could choose a blouse from your closet that you believe deserves a second life.
2. Pick your yarn based on the pattern suggestions.
I obviously did not do this the first time around since I already mentioned that I had wanted to use yarn that I had in my possession at the time. This was a faulty choice, since my yarn was thicker than the yarn recommended by the designer, which obviously caused gauge issues and did affect the overall look and fit of the finished garment. But…. We live and learn. In this case, I lived it… but you can learn from my mistakes.
3. Choose your fabric.
I decided to use a top that I purchased for a couple of dollars and cut it as needed, but you could choose a blouse from your closet that you believe deserves a second life.
4. Decide which method you will use to attach your crochet to your fabric.
Now, this issue has its importance. In my experience, some methods are easier than others while some methods produce a neater finish, specifically on the inside of your garment.
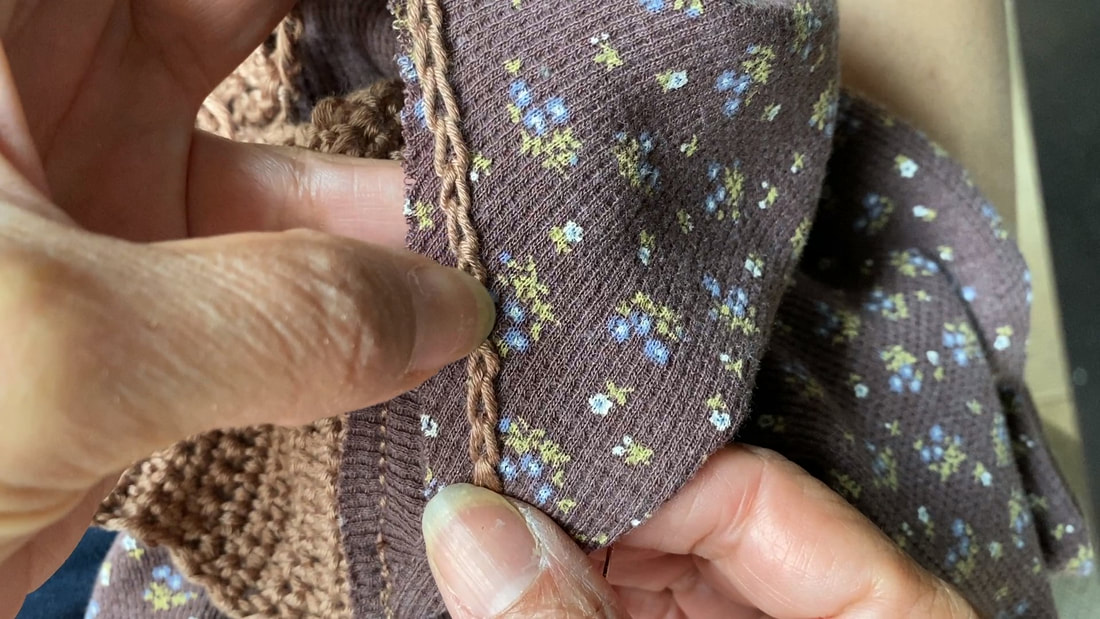
My preferred method turned out to be, adding chain stiches to the fabric with needle and thread and then crocheting a few base rows in pattern to the top loop of these chains. Finally, you should continue following the pattern instructions from there on. (Again, live and learn…)
At the link below you can find a tutorial for creating chain stitches on fabric using a needle and thread. Feel free to surf the web for other options.
Adding fabric to crochet
Now, this issue has its importance. In my experience, some methods are easier than others while some methods produce a neater finish, specifically on the inside of your garment.
My preferred method turned out to be, adding chain stiches to the fabric with needle and thread and then crocheting a few base rows in pattern to the top loop of these chains. Finally, you should continue following the pattern instructions from there on. (Again, live and learn…)
At the link below you can find a tutorial for creating chain stitches on fabric using a needle and thread. Feel free to surf the web for other options.
Adding fabric to crochet
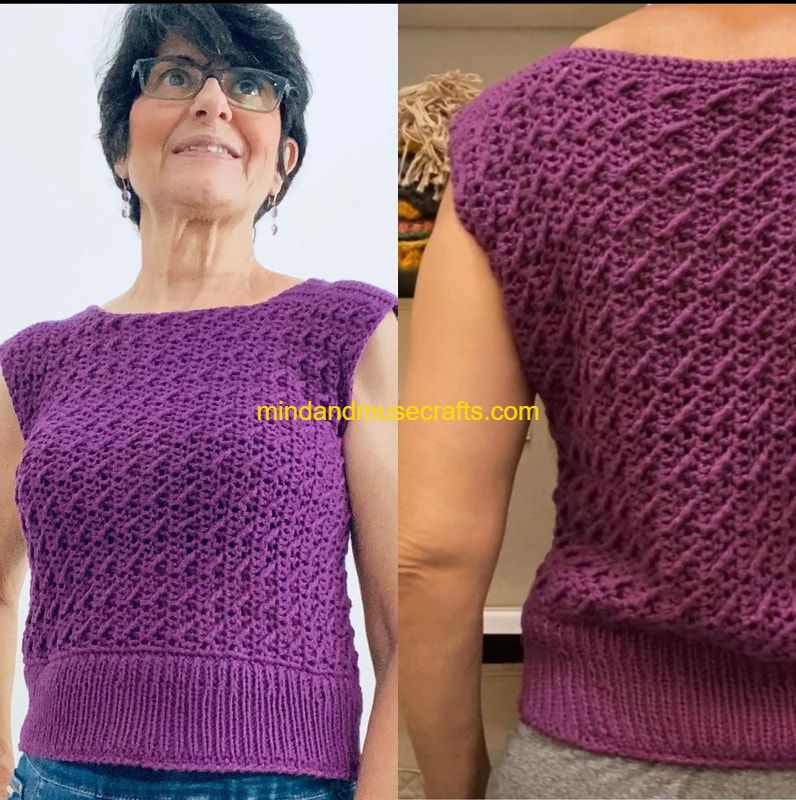
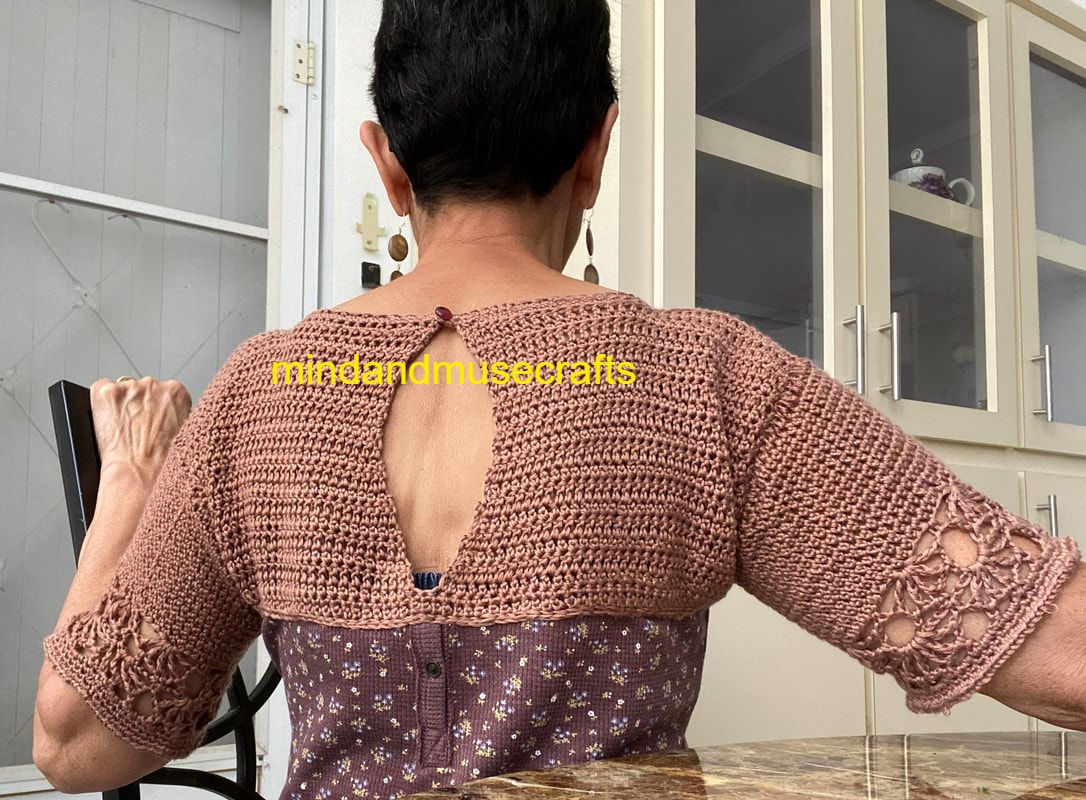
My first attempt at this form of garment construction, wasn't, however, this smooth. I decided to crochet the yolk panel and modified back panels first. Then, I seamed these crochet pieces first to each other and then to the fabric with chain stitches made with needle and thread. Finally, the sleeves were added by picking up stitches as described in the original Fallalery crochet pattern.
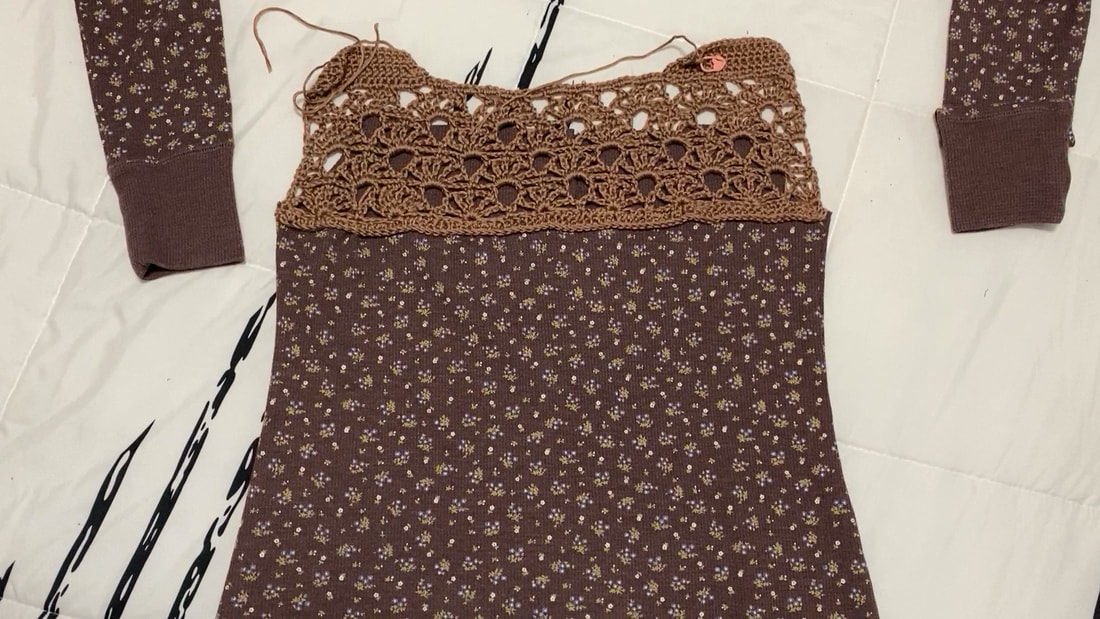
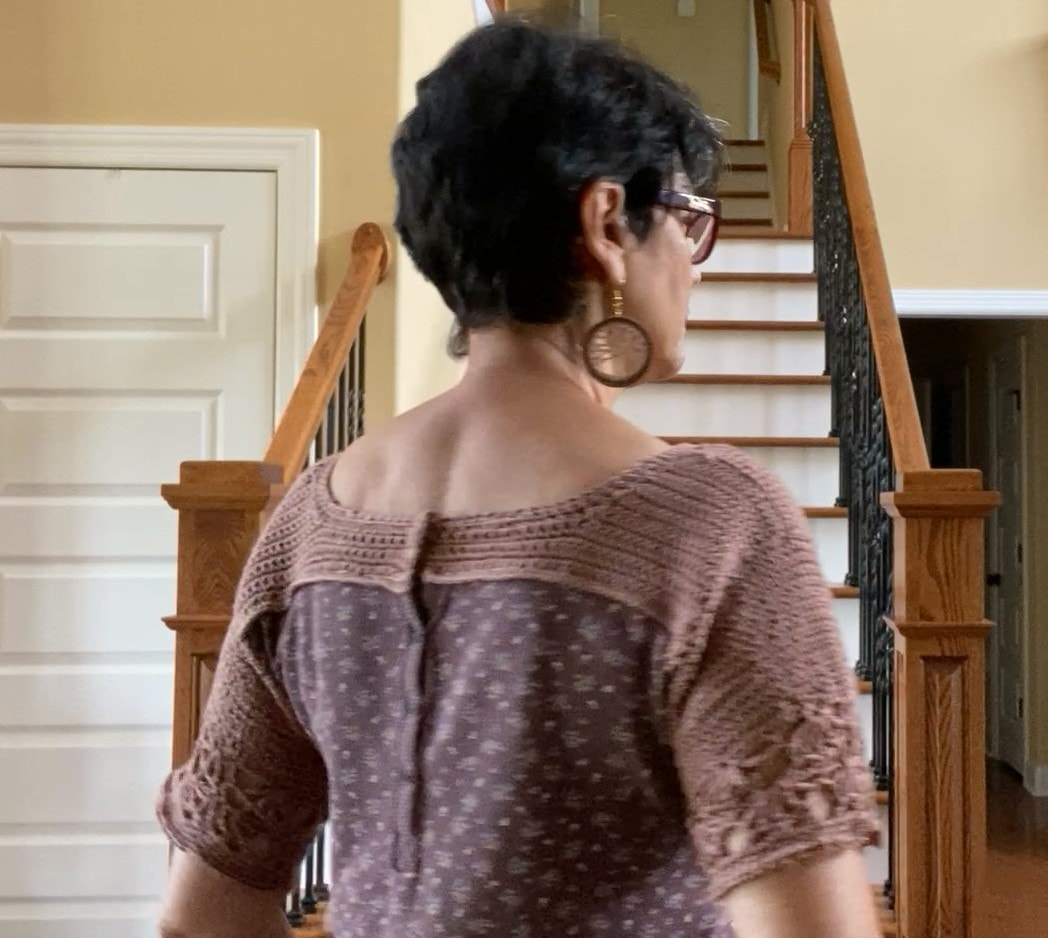
I was a bit unsatisfied with the back of the first result, so I detached the back panels, remade them as stated in the pattern and reattached these panels to the yolk, sleeves and fabric. A total recount of my first and second attempts at this multi-crafted garment construction method is divided in two episodes of my podcast, Mind and Muse Crafts on my You Tube channel.
Episode 83: youtu.be/3kf8asUhvos
Episode 85: youtu.be/r1LlhatKjZs
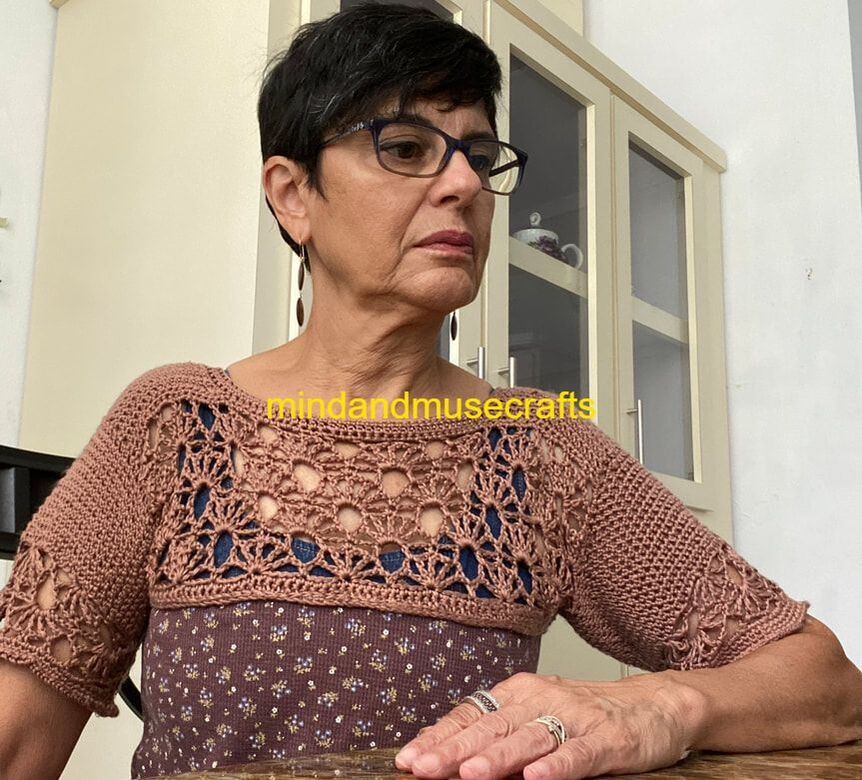
I am very happy to share with you the finished garment that inspired this post. I hope you have fun creating garments using this method.
Episode 83: youtu.be/3kf8asUhvos
Episode 85: youtu.be/r1LlhatKjZs
I am very happy to share with you the finished garment that inspired this post. I hope you have fun creating garments using this method.
 RSS Feed
