Accessories are the perfect way to add something special. A hair comb or a beaded clutch can be a lovely detail to finish your bridal look.
-Jenny Packham (British fashion designer)
-Jenny Packham (British fashion designer)
| I meant to get this post published in june, but life got complicated at the end of May. There were summer classes (which are offered 3 hours daily) and family visits and, as I might have mentioned in some previous post, my youngest daugters wedding. Although, she contracted the services for food and decorations in a package along with the venue, she decided to add her own personal touch to the decor by crocheting up some of the decorations for the receiving hall. So, although she was pretty busy, I really didn't have much to do except prepare myself. | 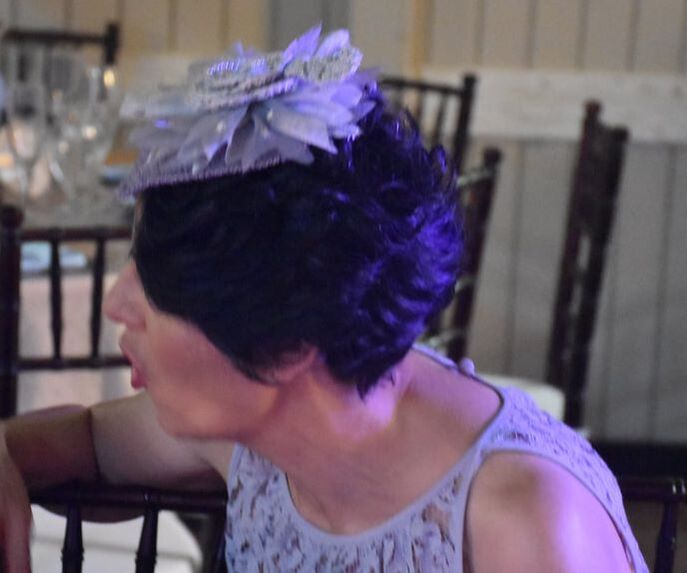 |
After I chose my dress, the next question was would I wear a head piece. I too, wanted a special accessory, a special link between my daughter and I that only we would understand. I decided to represent our emotional connection by wearing a fascinator (because my daughter is a fan) an I was determined to make it myself. I started with a sketch in my head of what I wanted the final object to look like and then I went about creating each part separately and finally, joining it all together.
This post is a sort of photo tutorial/description of how I went about preparing my fascinator.
This post is a sort of photo tutorial/description of how I went about preparing my fascinator.
Making my own crochet wedding fascinator
Materials:
- Thin cotton thread ( I used Petra Cotton # 3) for the head piece
- Fingering weight acrylic yarn in a color similar to the cotton yarn for the head piece. I used a yarn with metallic strands to add a bit of bling to the fascinator.
- 2.75 mm crochet hook
- Tulle to match thread color
- 15- 3 mm beads (used to add additional decoration to the flower)
- Needle and sewing thread in a matching color.
- Hot glue and glue gun
- 20 gauge crafting wire
Process:
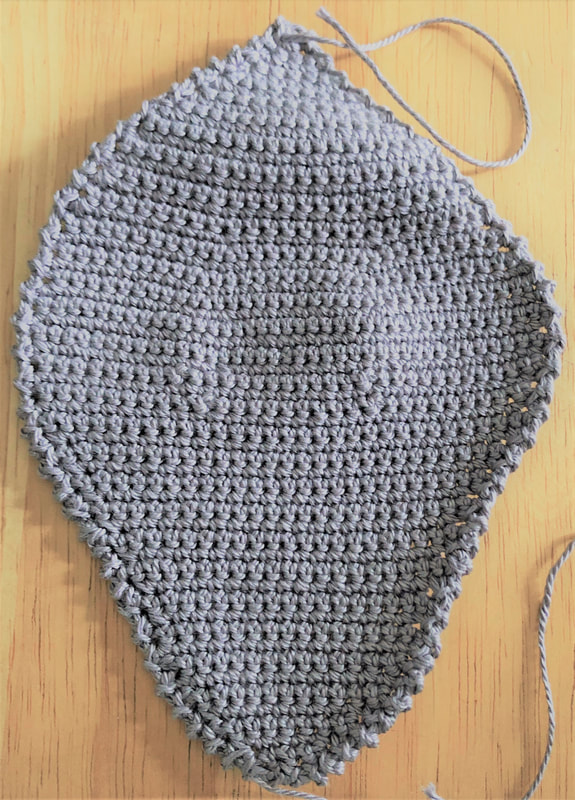
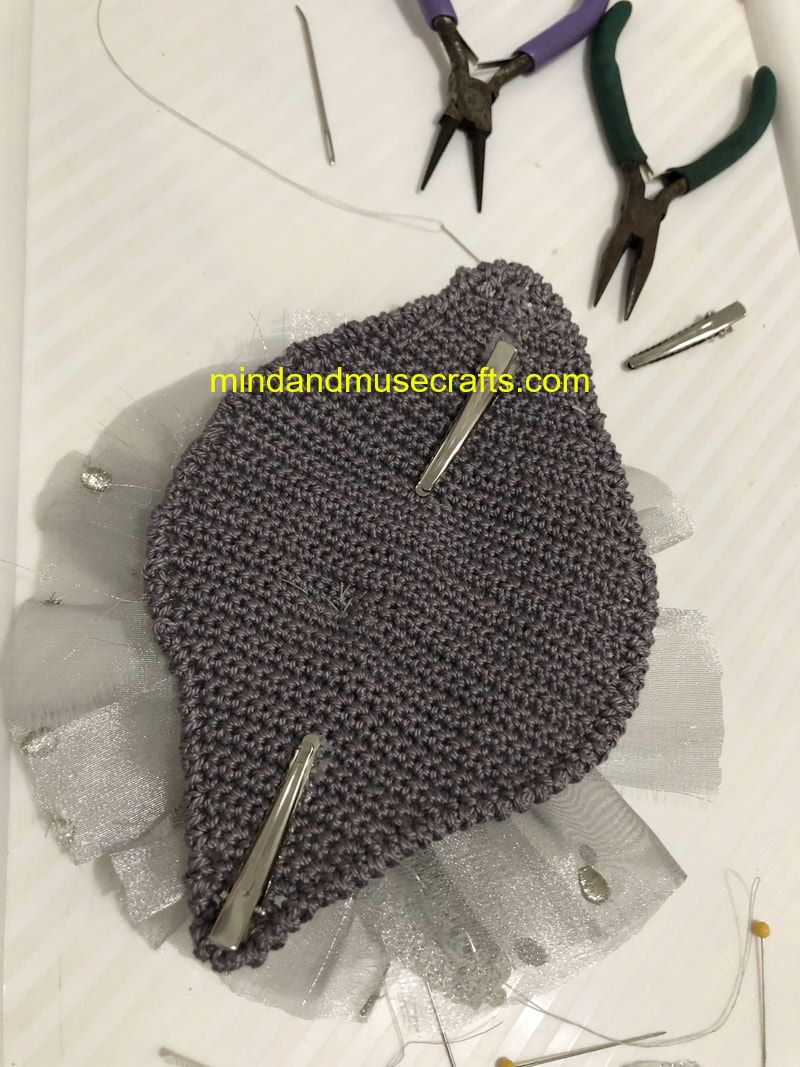
1. Crochet the base of the fascinator. Find a free pattern on this blog here.
1. Crochet the base of the fascinator. Find a free pattern on this blog here.
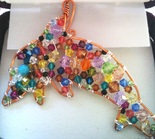
2. Make a crochet flower. I used a free pattern found at busycreatingmemories.com/crochet-rose-pattern/
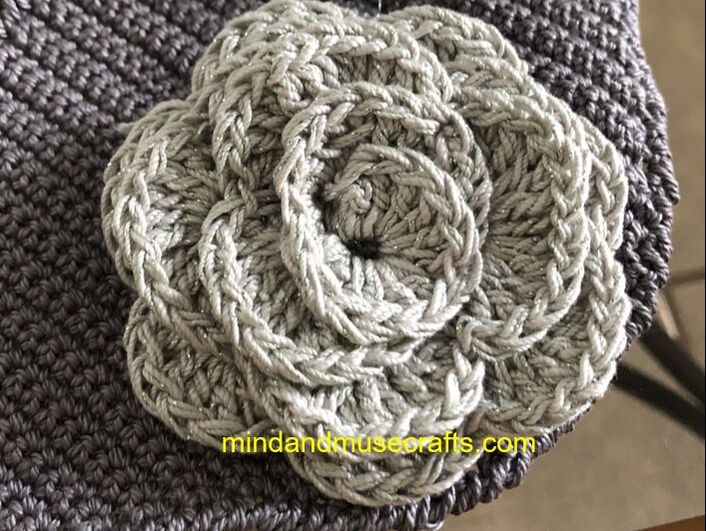
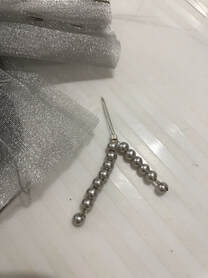
3. If you would like to embellish the flower a bit more, string beads on beading wire and secure them to the center of the flower.
 |  |
4. Make a feather (or two). I followed a free pattern that you can find at
www.gavacrochetlove.com/2017/07/how-to-crochet-medium-and-small-feathers/
5. Run a 5 inch piece of crafting wire and weave it into the midrib of the leaf. Make a closed loop at each end of the wire, trying to close the loop around and few stitches and at the same time hiding it inside the crochet.
www.gavacrochetlove.com/2017/07/how-to-crochet-medium-and-small-feathers/
5. Run a 5 inch piece of crafting wire and weave it into the midrib of the leaf. Make a closed loop at each end of the wire, trying to close the loop around and few stitches and at the same time hiding it inside the crochet.

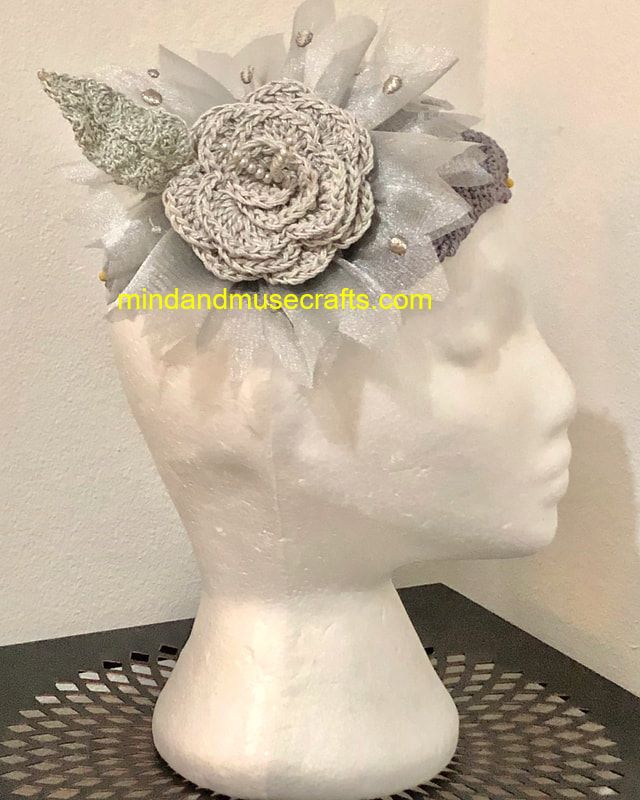
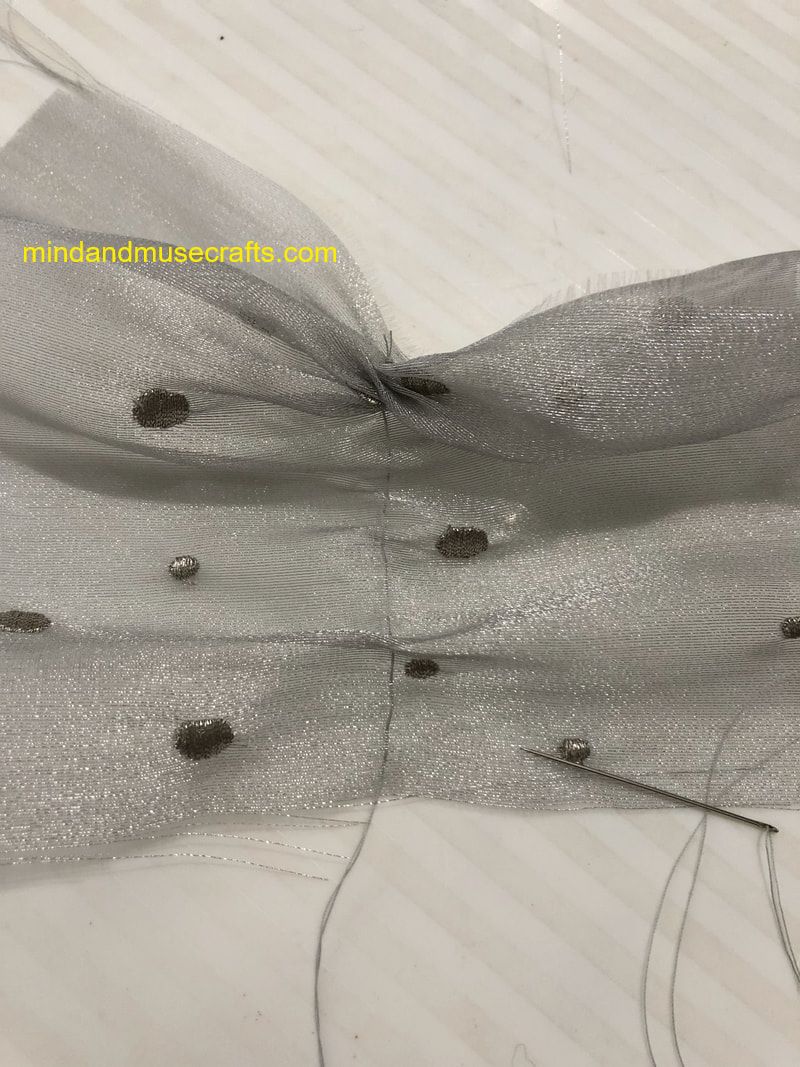
6. Prepare to cover the base with tulle. I purchased a half of a yard of tulle and cut it into several pieces. With a sewing needle and thread, sew a running stitch through each piece widthwise. Without making a knot, pull on the thread to ruffle each piece.
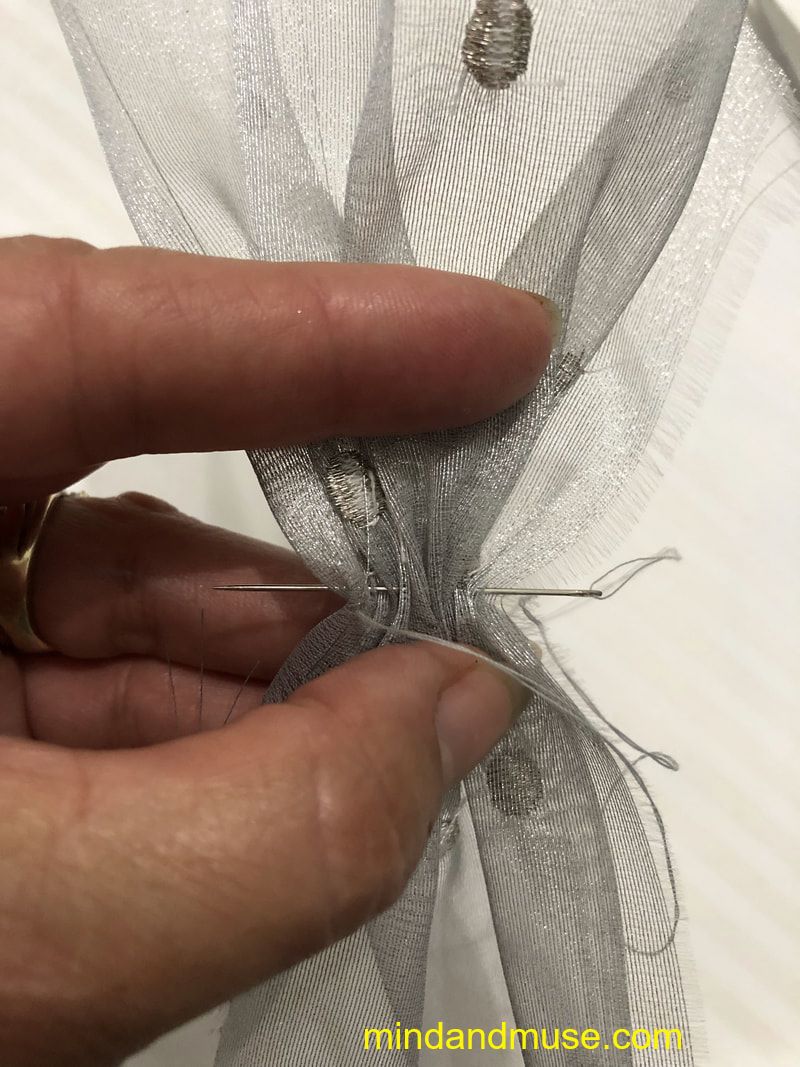
7. With each piece, pass the needle through all folds of the tulle to secure the ruffle.
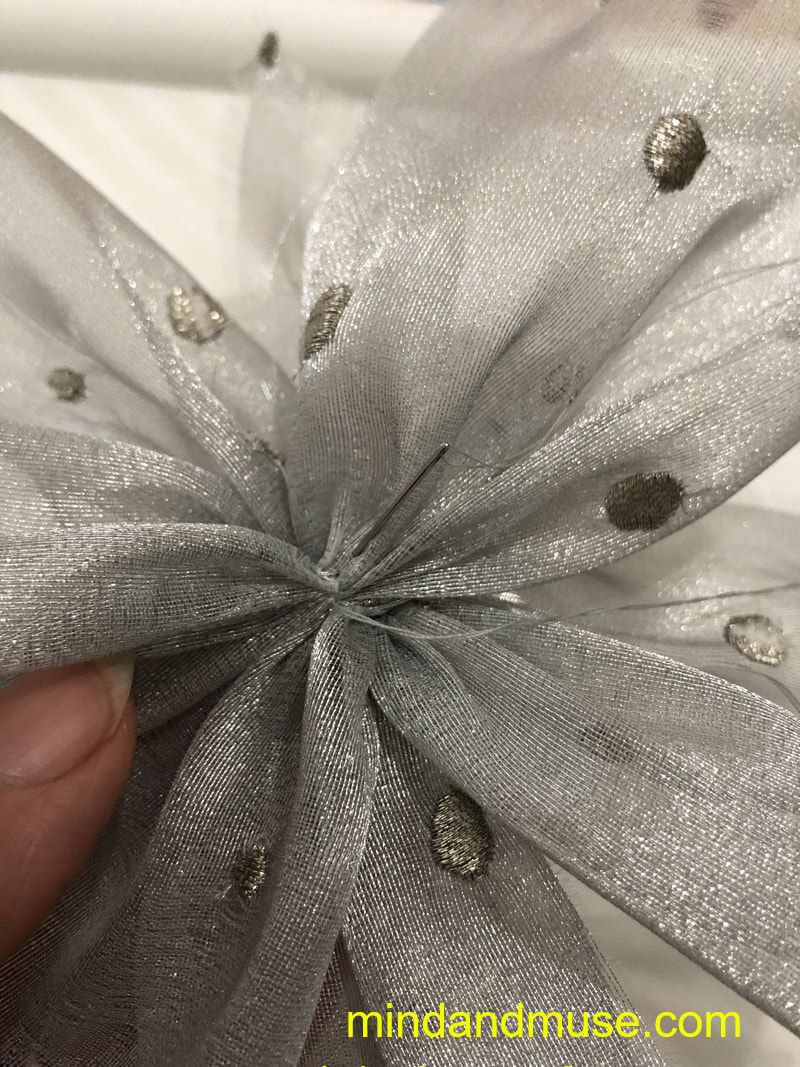
8. Overlap the pieces at the center by placing the pieces in different positions. Make a stitch or two through all pieces to secure. You may also apply a bit of hot glue to secure the pieces to one another as well as to the base.
9. Stack the tulle and the flower over the base the tulle. Use the sewing needle to tack the tulle and the flower to the base. Open the loop on the end of the feather and secure the feather to a couple of stitches of the flower in such a way that the feather stands up.

11. Glue hair pins to the underside of the base. Choose a placement for the pins that will allow you to conveniently attach the fascinator to you hair, and enjoy!!!
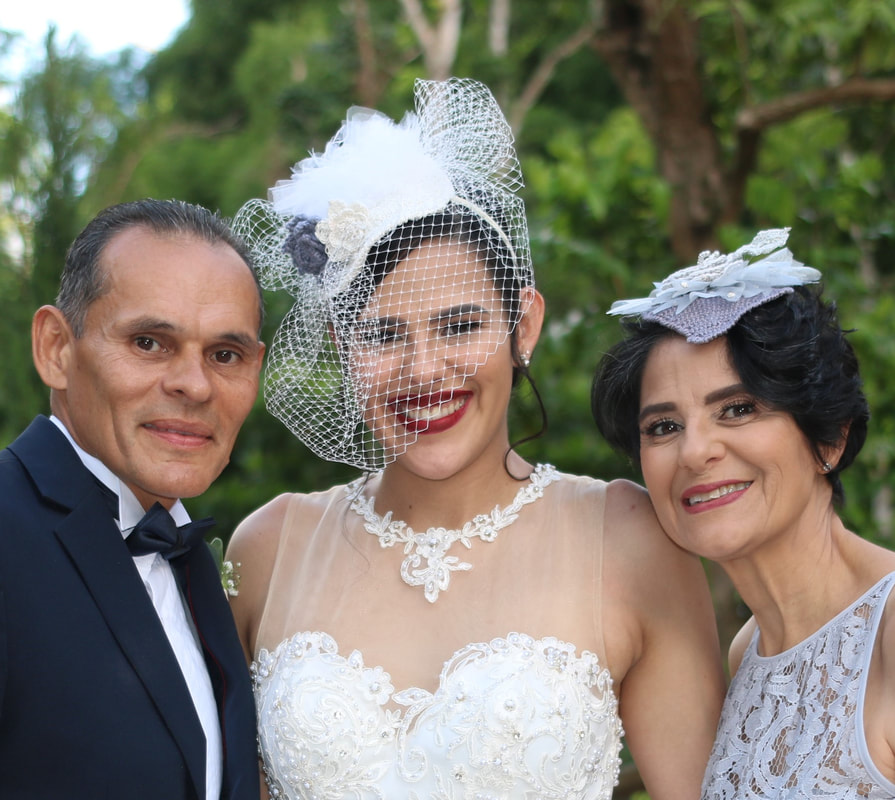
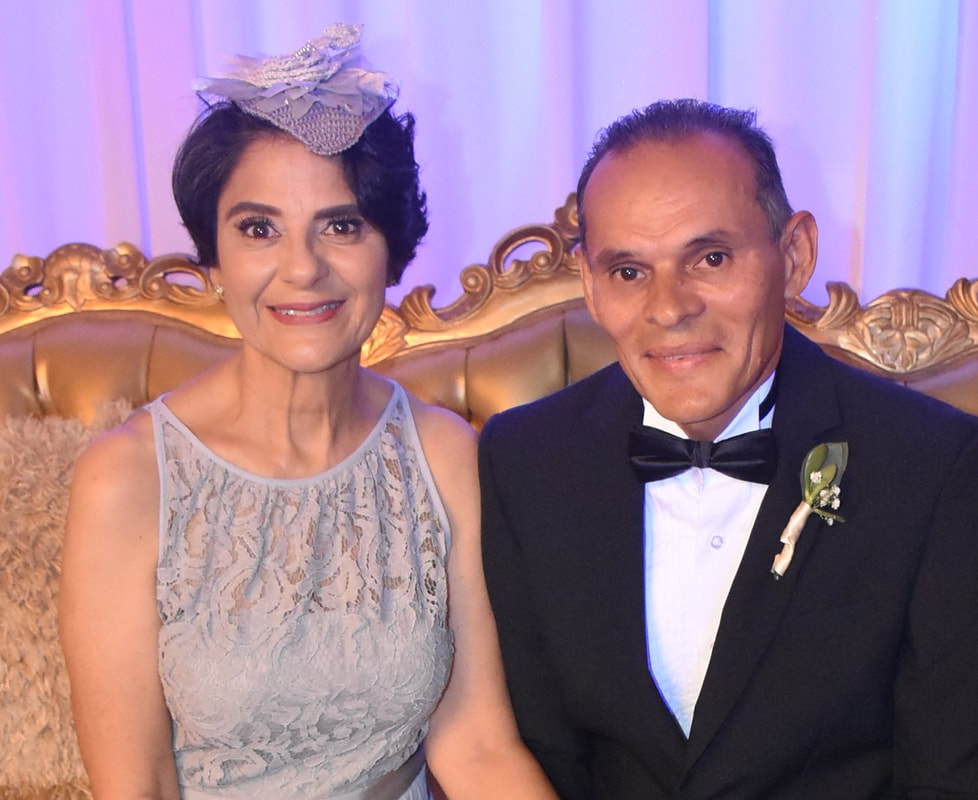
Here are some photos of me showing off my fascinator at my daughter's wedding!

 RSS Feed
