“If these rings could talk, they would have more stories to tell you than even me.”
― Mukta Singh-Zocchi, The Thugs & a Courtesan
― Mukta Singh-Zocchi, The Thugs & a Courtesan
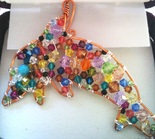
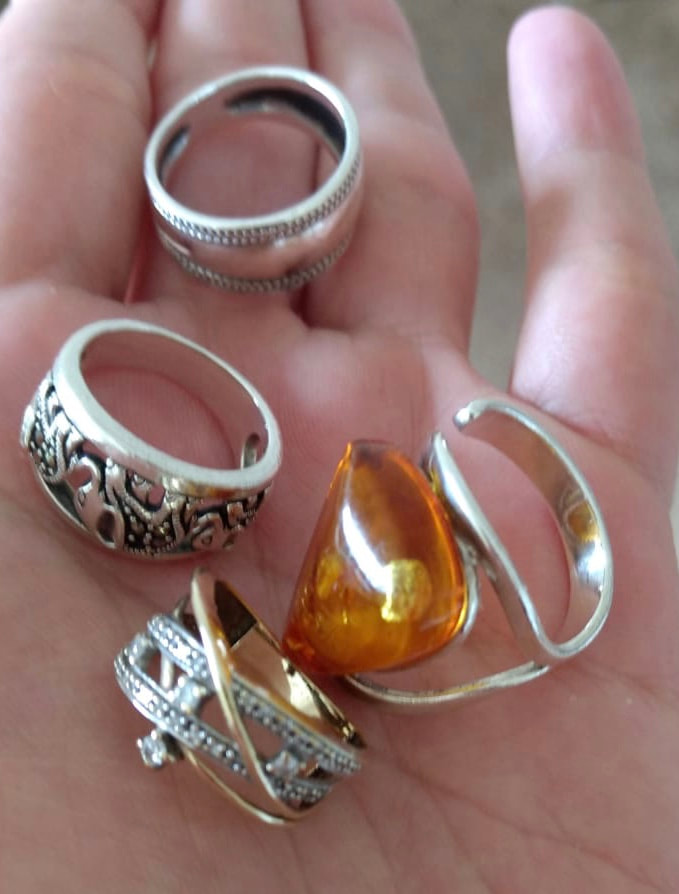 | I am going to have to say that rings are my favorite piece of jewelry. Yes, I love rings. I recently helped my youngest daughter move into her new home and during the move I lost four of the rings that I was most fond of. I was disconsolate. Every day we would look and relook into every box, closet and cupboard in search of my treasures, but they were nowhere to be found in the new house nor in the old apartment! I returned from my trip heartbroken but determined to move on… I mean, after all, they were just rings and I had many more where those came from! A month later, my daughter sent me this photo of my rings that had been found in the trunk of her husband’s car. Needless to say, I was ecstatic. Although, I told her to just bring them the next time she visited, deep down inside I was overwhelmingly happy that they had been found! |
So… yes… rings are one of my favorite things. And yet, my experiences trying to make my own rings have not always been fruitful. I find it hard to make a good ring. I have used many different materials. I have made beaded rings, wire-wrapped rings, and crocheted rings. They all require different skills and the results depend as much on these skills as on the quality of the material you are using. Inspired by this reminiscing, I decided to share a photo parade of some of the different rings that I have made over the years. But the inspiration didn't stop there. At the bottom of this post you will find a photo tutorial of how I created my latest favorite crochet flower ring. Enjoy!
Making a crochet flower ring
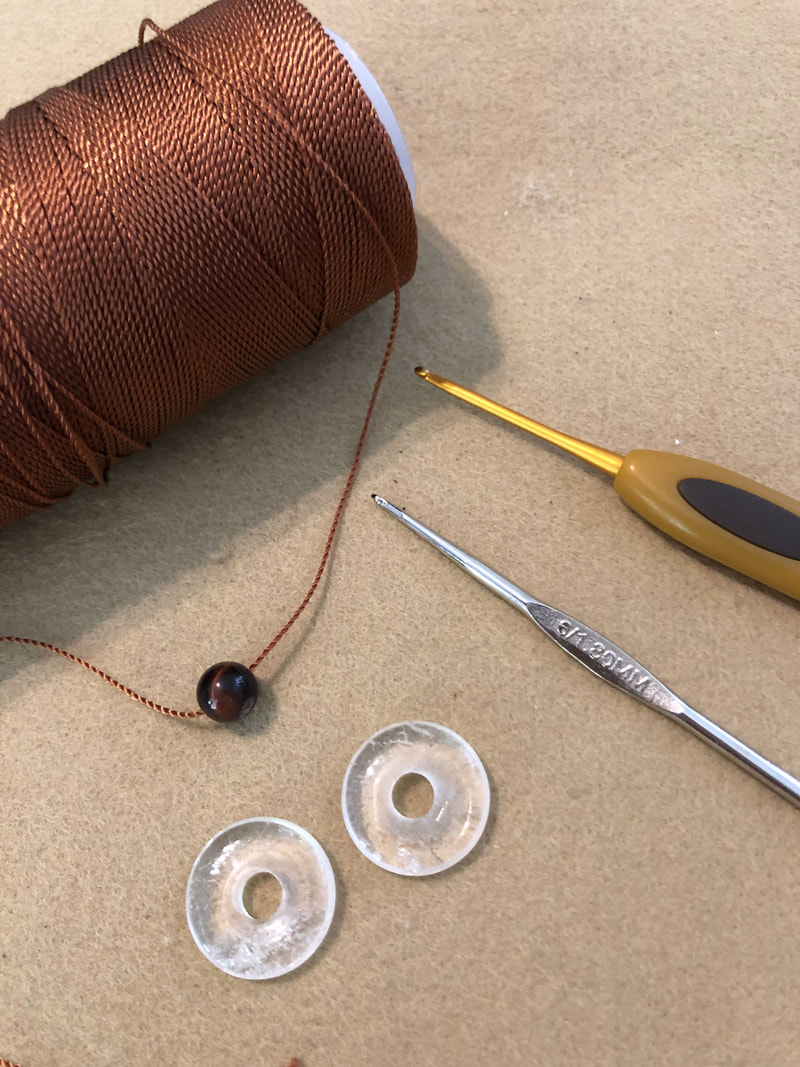
For this ring you will need:
- Omega 100% nylon thread #2 – in the color of your preference
-1.75 mm or 2mm crochet hook (depending on how tight you crochet)
- One round washer or disc bead with a 20 mm diameter
- One 8 mm round gemstone bead of your preference (optional)
- sewing needle (to fit your thread)
- scissors
- Omega 100% nylon thread #2 – in the color of your preference
-1.75 mm or 2mm crochet hook (depending on how tight you crochet)
- One round washer or disc bead with a 20 mm diameter
- One 8 mm round gemstone bead of your preference (optional)
- sewing needle (to fit your thread)
- scissors
Instructions:
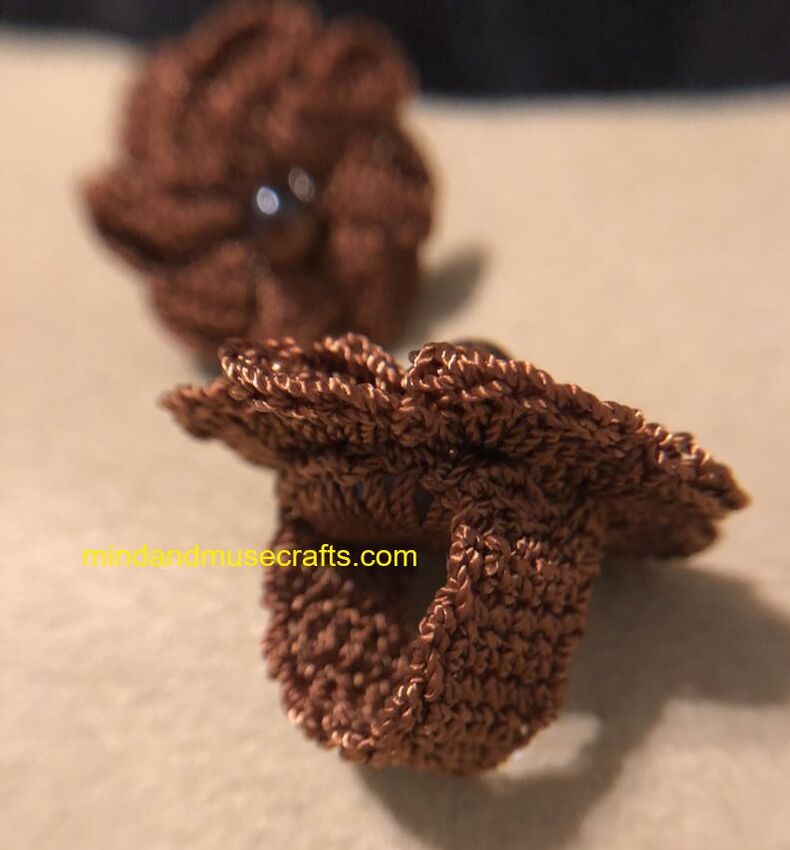
1) If you have decided to add a gemstone bead to the center of your flower, string the gemstone on the yarn before you begin crocheting the flower.
2) You may follow the instructions to make your favorite flower. Choose one that will give you at least a 20 mm diameter. There is a free video tutorial for the flower I made at http://www.tinashandicrafts.com, but there are many other possibilities. (For this tutorial I will assume you are making the same flower that I made.) After making the flower, you may weave in your ends or leave a long tail to attach the gemstone when you fasten off.
3) Attach your thread to a needle and weave it down the nearest petal until you reach the center. Make a slip knot near the flower and attach the loop to your hook. Make one sc through the center of the flower. Thread your gemstone and push it up close to your hook. Make a single crochet by passing under the gemstone and around the other side of the center. Fasten off and weave in the end. Alternatively, you may glue your bead or button to the center of the flower.
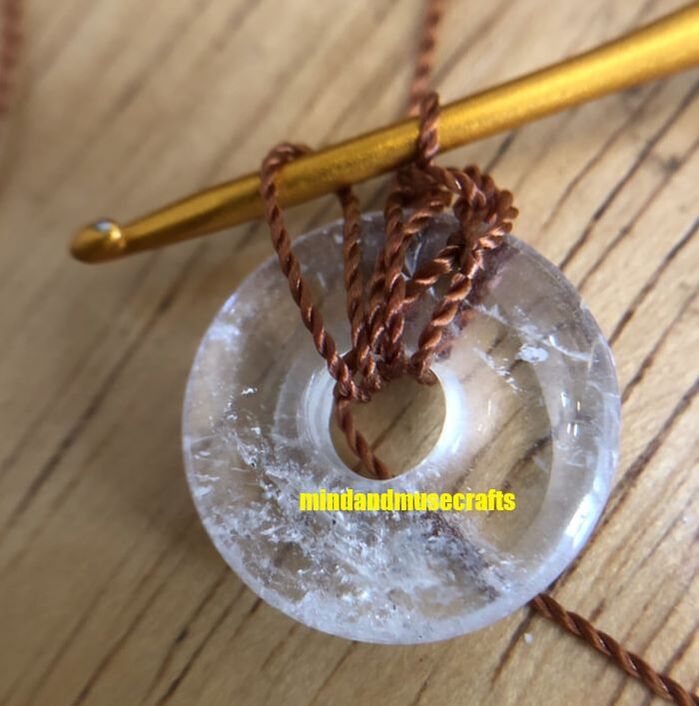
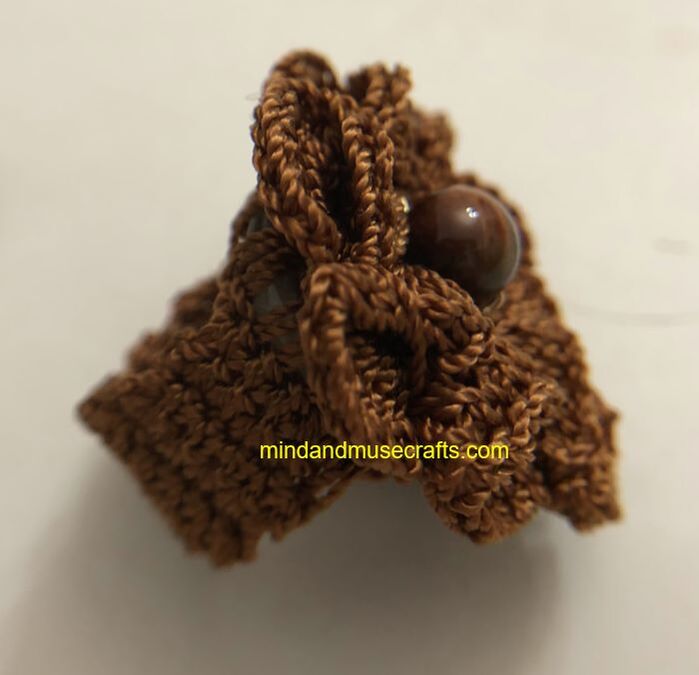
3) On a new thread, make a slip knot, pass it through the center of the donut and place it on your hook. Make a sl st by pulling your thread to the top of the disc and through the loop on your hook.
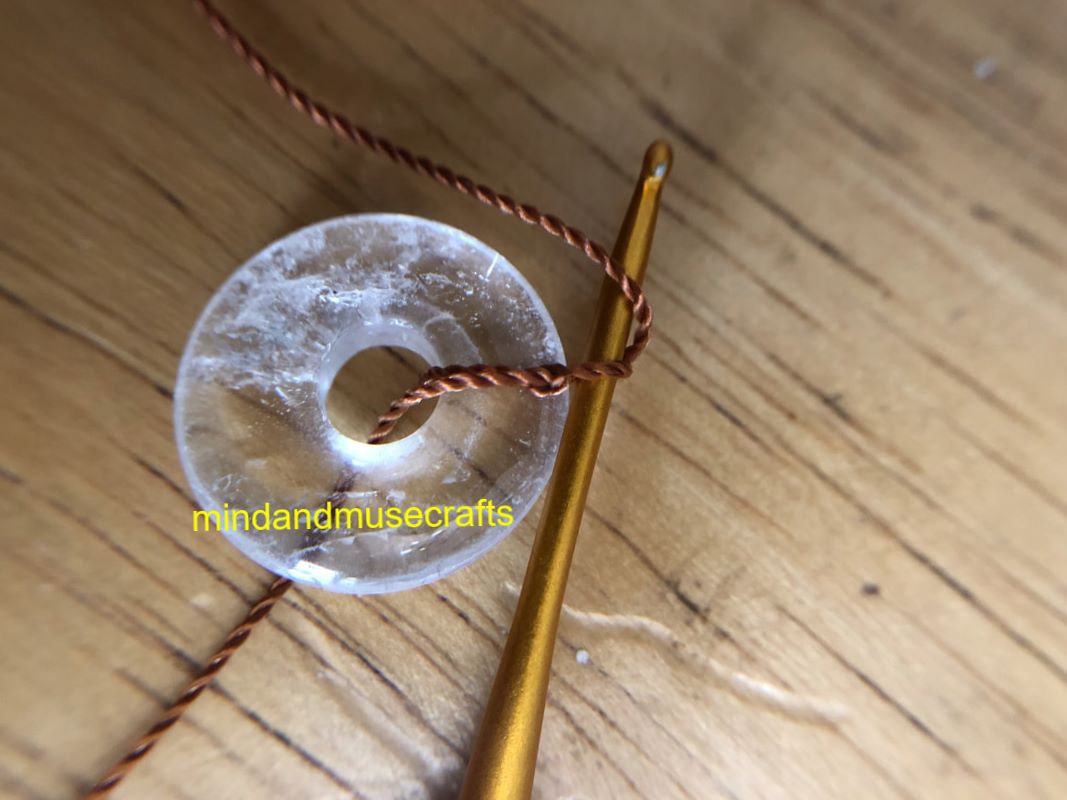
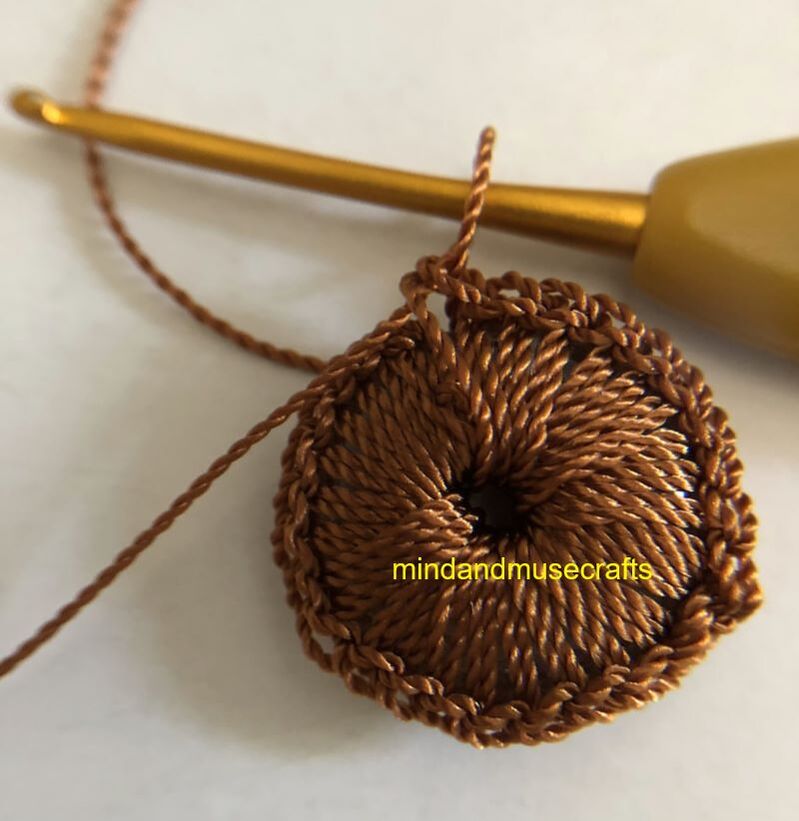
4) Continue by placing the hook through the center of the donut pulling up a loop and completing the sc at the top of the donut.
5) Continue making sc around the donut until the donut is completely covered and you are back at the beginning. Sl st into the first sc you made.
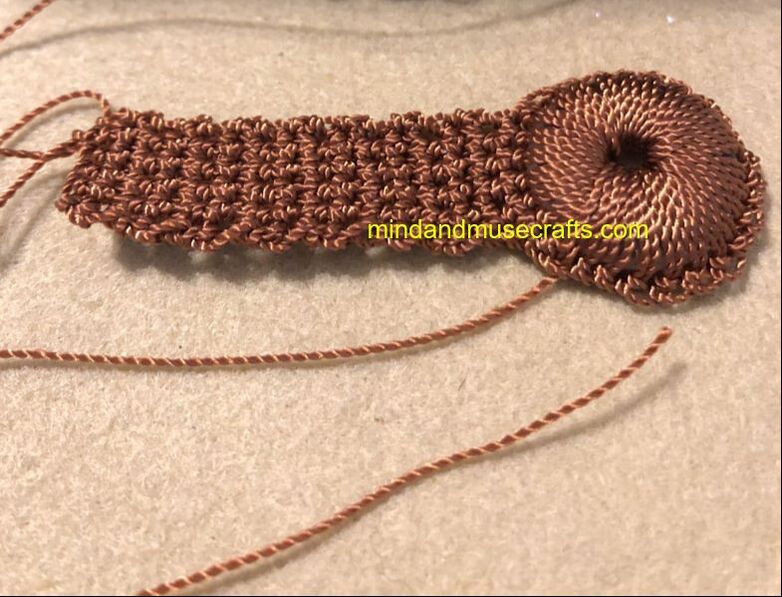
6) Ch 1. *Sc into the next 5 sc. Ch 1. Turn.* Repeat from * to * until your band measures slightly smaller than the circumference of the finger you wish to wear it on. Remember that it will stretch with use. (My band was 20 cm long.)
7) Cross you band over the front of the disc. Find the 5 sc that are directly opposite from the five sc you used to begin your band. Sl st the band to the border of the disc bead. Sl st once more to the next sc of the disc bead border. Fasten off leaving a very long tail. Your ring will be inside out.
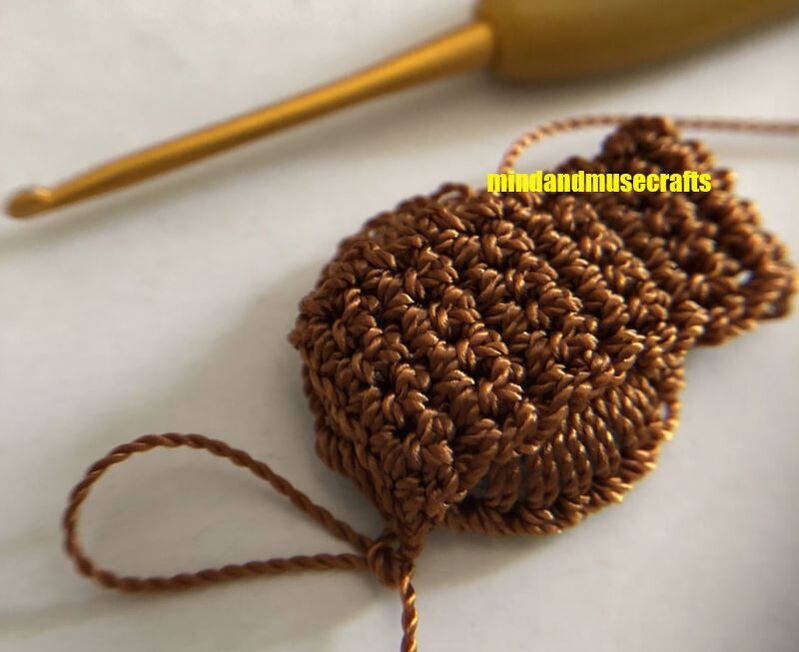
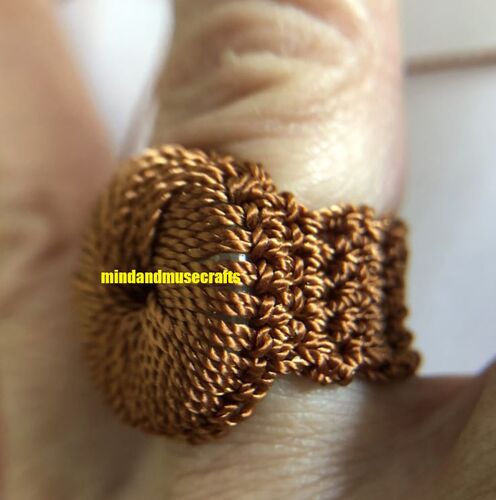
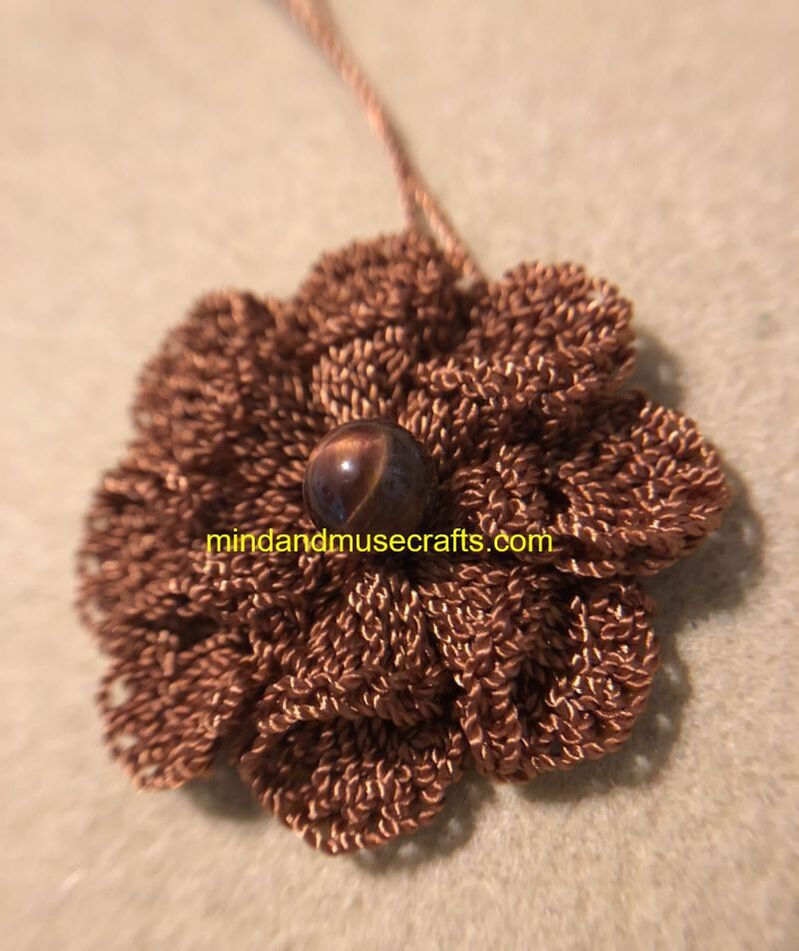
8) Turn your ring right side out. Attach your thread to a needle and stitch the backside of the flower to the front of the band (directly over the disc bead). Be sure to go through only the bottom layer of flower petals. Alternately, you may glue the flower to the top of the disc bead first.
Your ring is ready to use!
 RSS Feed
